|
 |
 |
 |
 |
 |
 |
 |
 |
 |
 |
 |
 |
 |
 |
 |
 |
 |
 |
 |
 |
 |
 |
 |
 |
 |
 |
 |
 |
 |
 |
 |
 |
 |
 |
 |
 |
 |
 |
 |
 |
 |
 |
 |
 |
 |
 |
 |
 |
 |
 |
 |
 |
 |
 |
 |
 |
 |
|
 |
|
|
|
If you wish you can also read this article as a .pdf file.
If you wish you can copy it to your computer for future reference.
To read the .pdf article click here.
|
|
|
|
THE THINGS YOU DO
TO WARM YOUR TOES
|
|
|
|
This exercise all started in early March of 2011.
But written in September 2012, by Rob Brereton.
I had purchased a Smith Bumble Bee Fan Heater and a Ford Magic Aire Heater Dash Control mechanism as well as a Push Button Radio face and it was time to start and install it all in the Cussy.
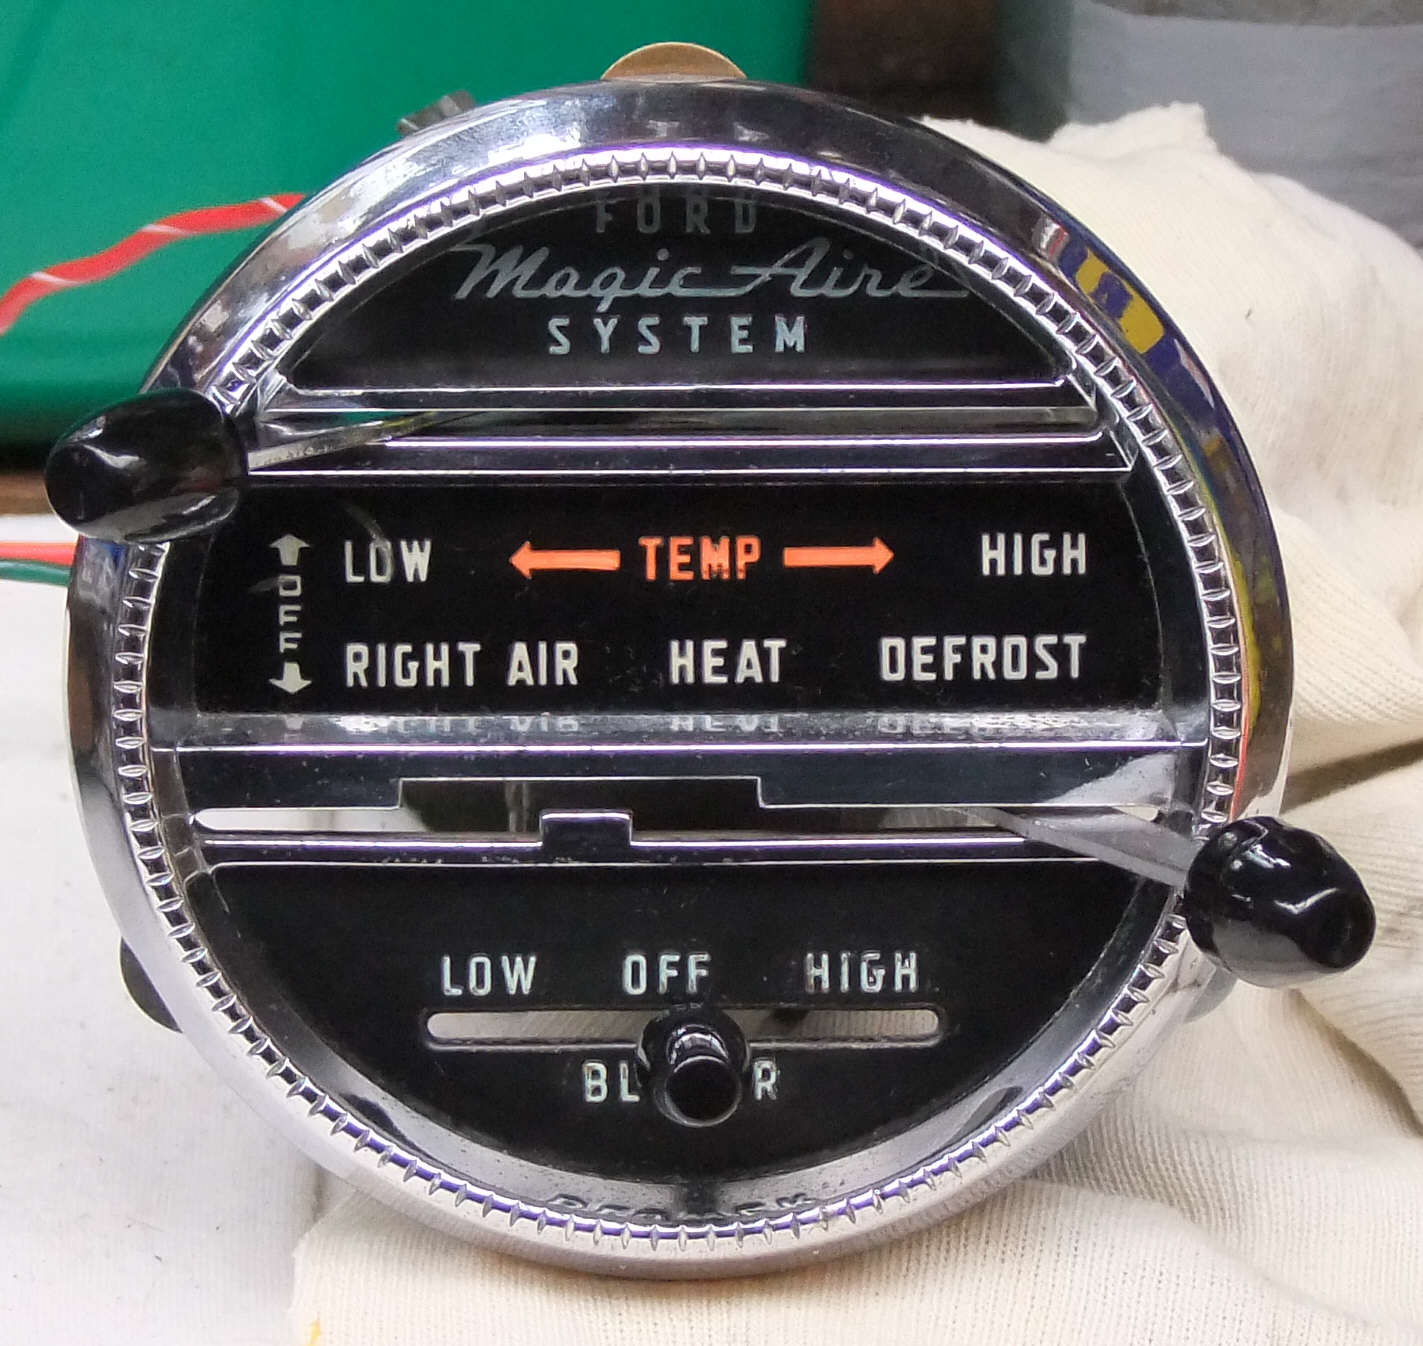
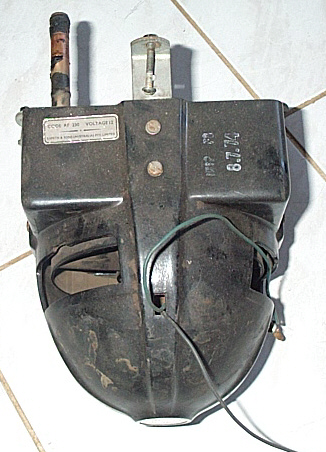
The heater unit was a bit worse for wear, as shown below, but it was complete. The Heater Control unit was in pretty good order and with a little effort I had it all polished up and the chrome work matched my clock just right. The lever knobs got a new coat of Black Gloss and it all looked great, as you can see below.
|
|
|
|
 |
|
|
|
 |
|
|
|
 |
|
|
|
|
|
|
 |
|
|
|
|
|
|
|
|
|
|
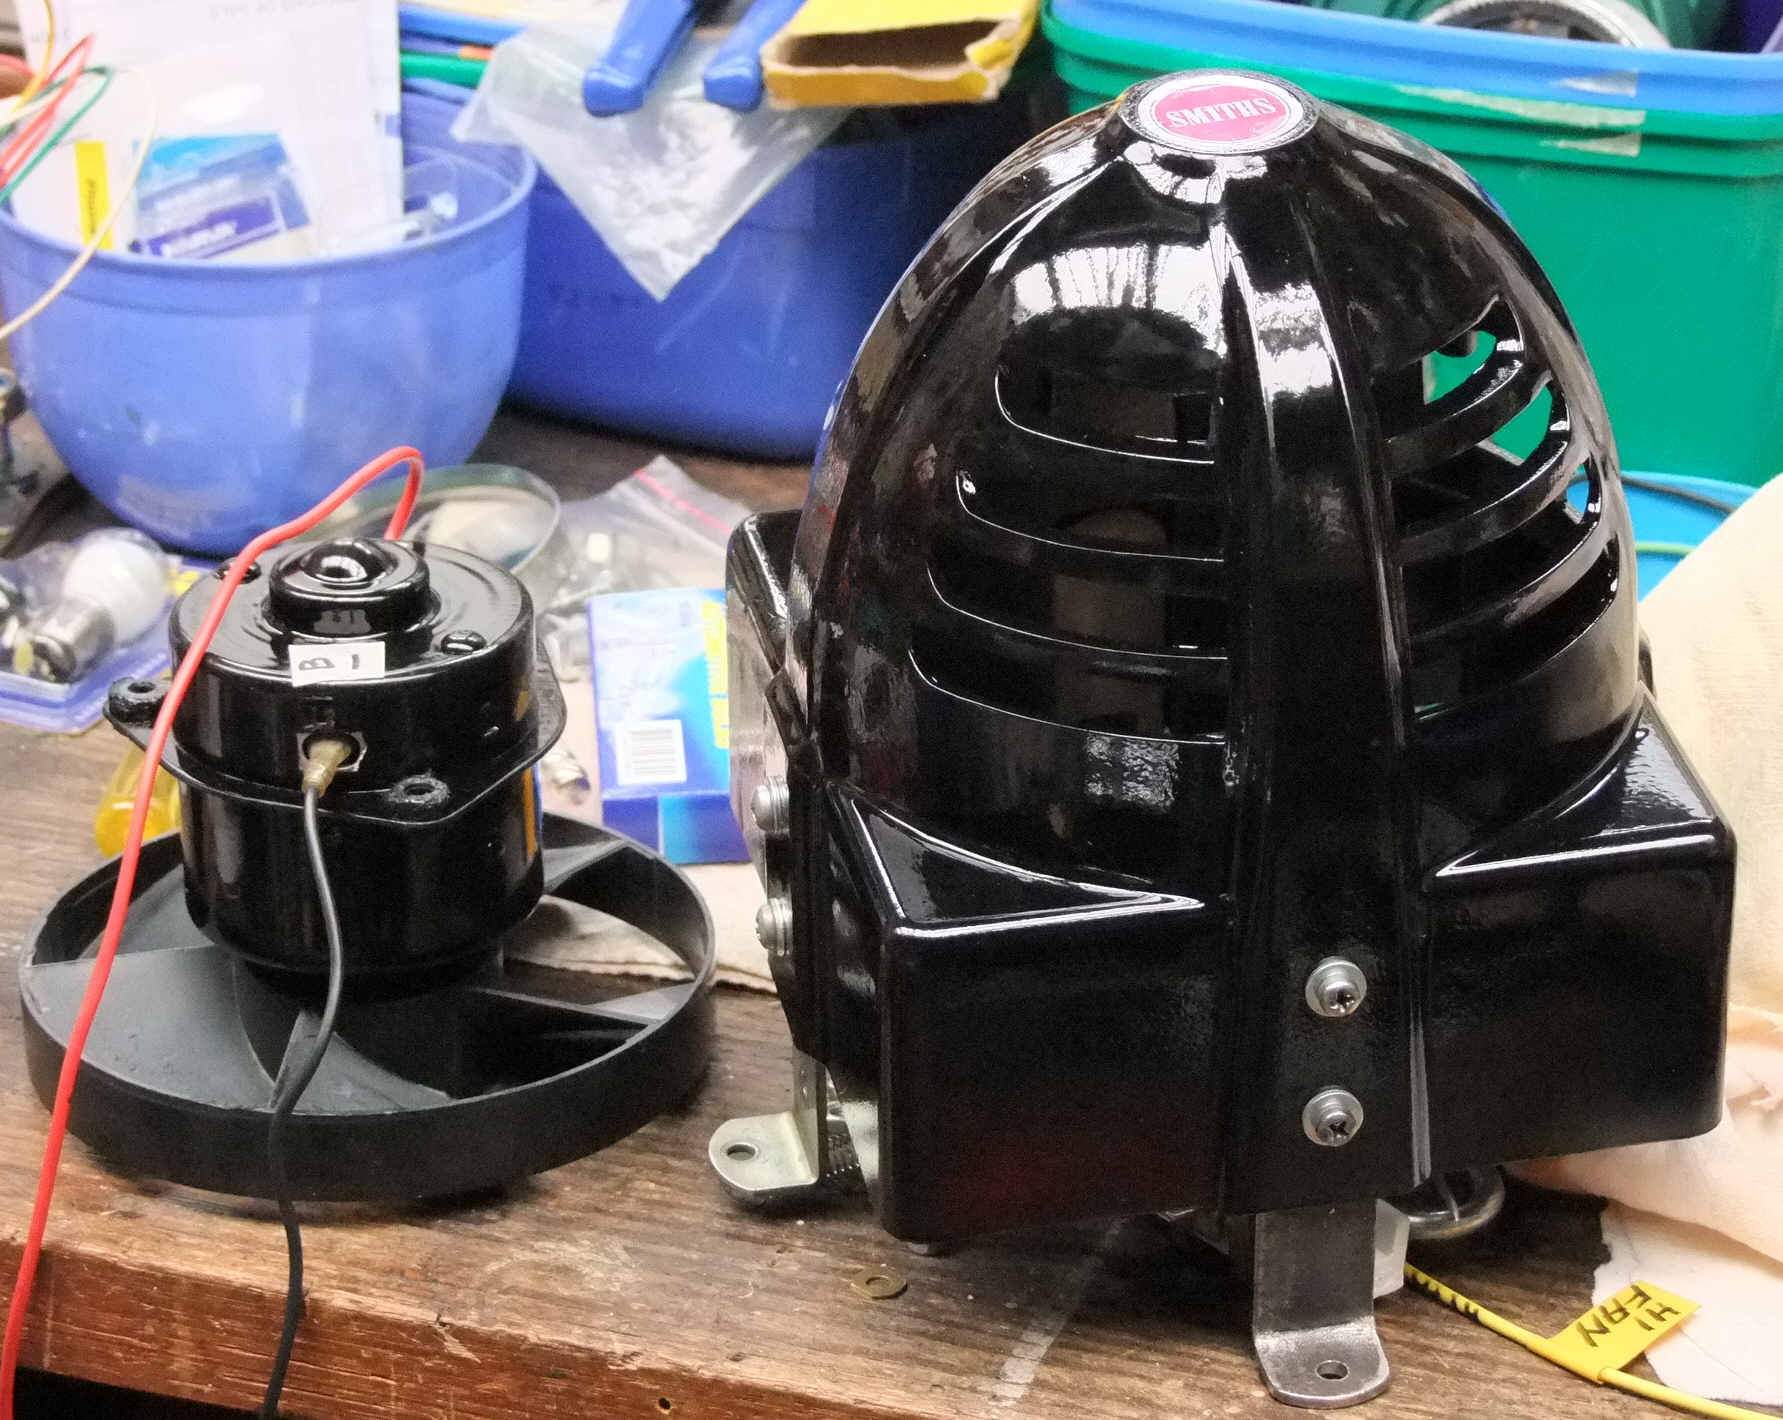
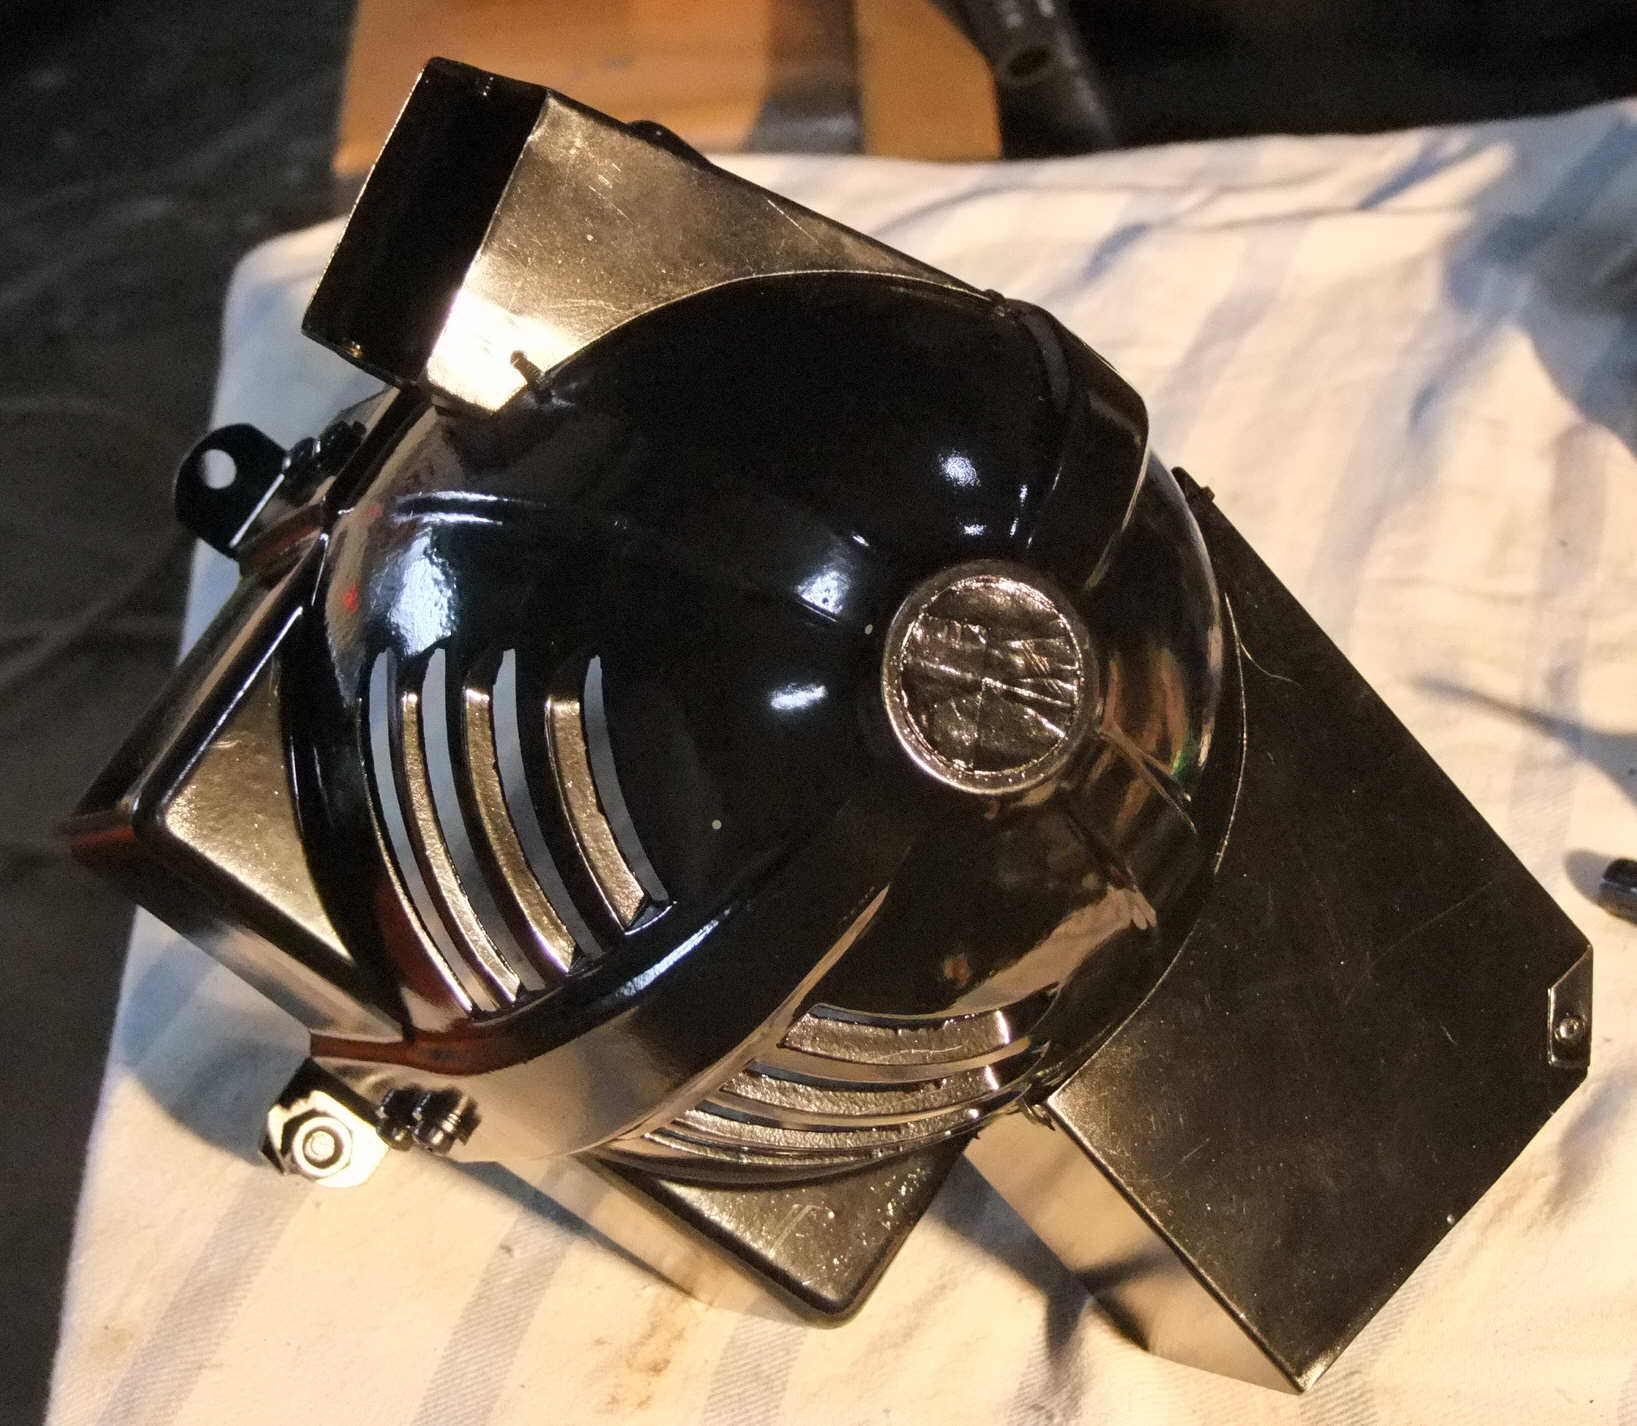
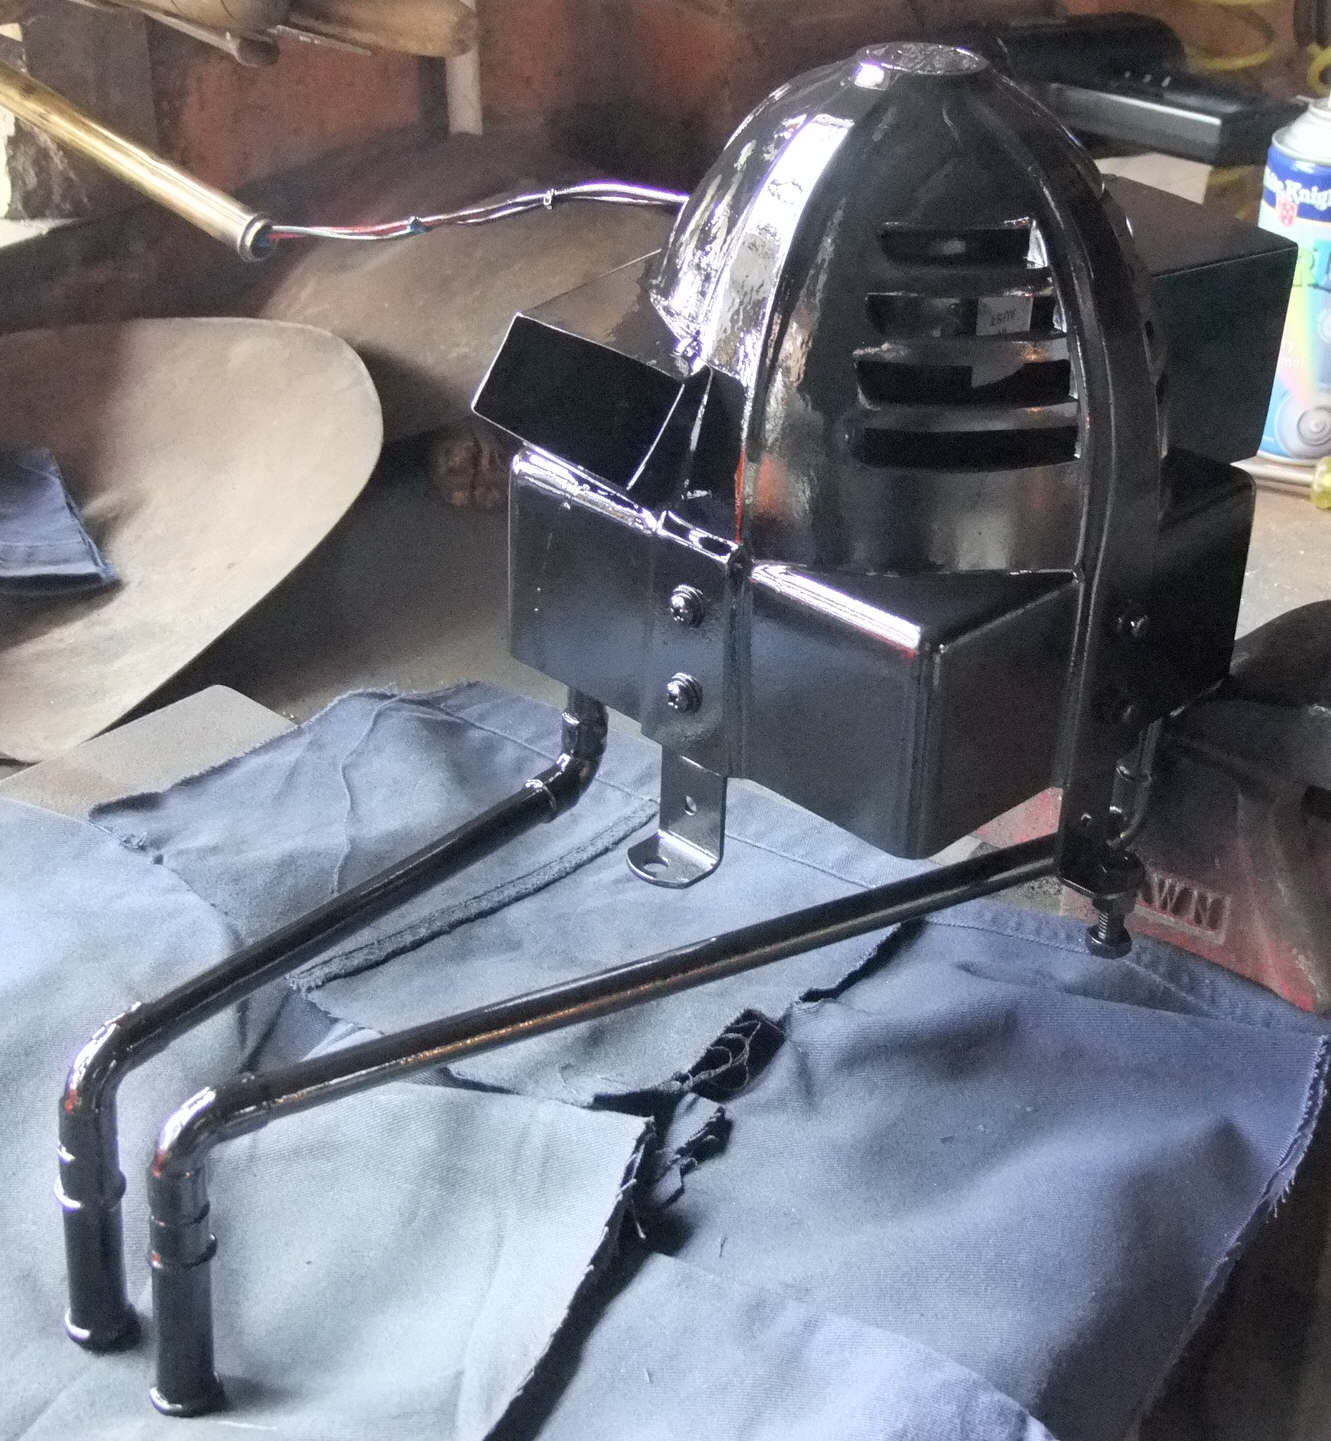
The next task was to completely overhaul the Heater unit, so everything was separated and cleaned externally. The fan unit was completely dismantled, that means the motor and all, cleaned, bearings checked, regreased, and after a new coat of Black Gloss it got rewired, all reassembled and the fan blades pressed back onto the shaft. I even made a new sticker to put on it. After all that it still worked, which was a great relief. While the Black Gloss was going the bakelite heater case got a new coat as well. I was also very pleased that the original Smiths Sticker was still on the front.
The heater core was the next task, with a pressure test being the main focus to make sure that there were no leaks. With an air hose connected and set at about 14 PSI it was all dunked in a big bucket of water to sit for a while. There were a few exterior bubbled that let go which startled me at first but once they dissipated the rest held its pressure for some time without any more bubbles appearing, “success” was the cry, so out it came to dry off.
|
|
|
|
 |
|
 |
|
|
|
|
|
 |
|
 |
|
|
|
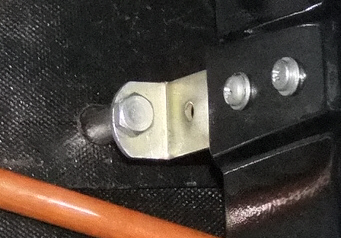
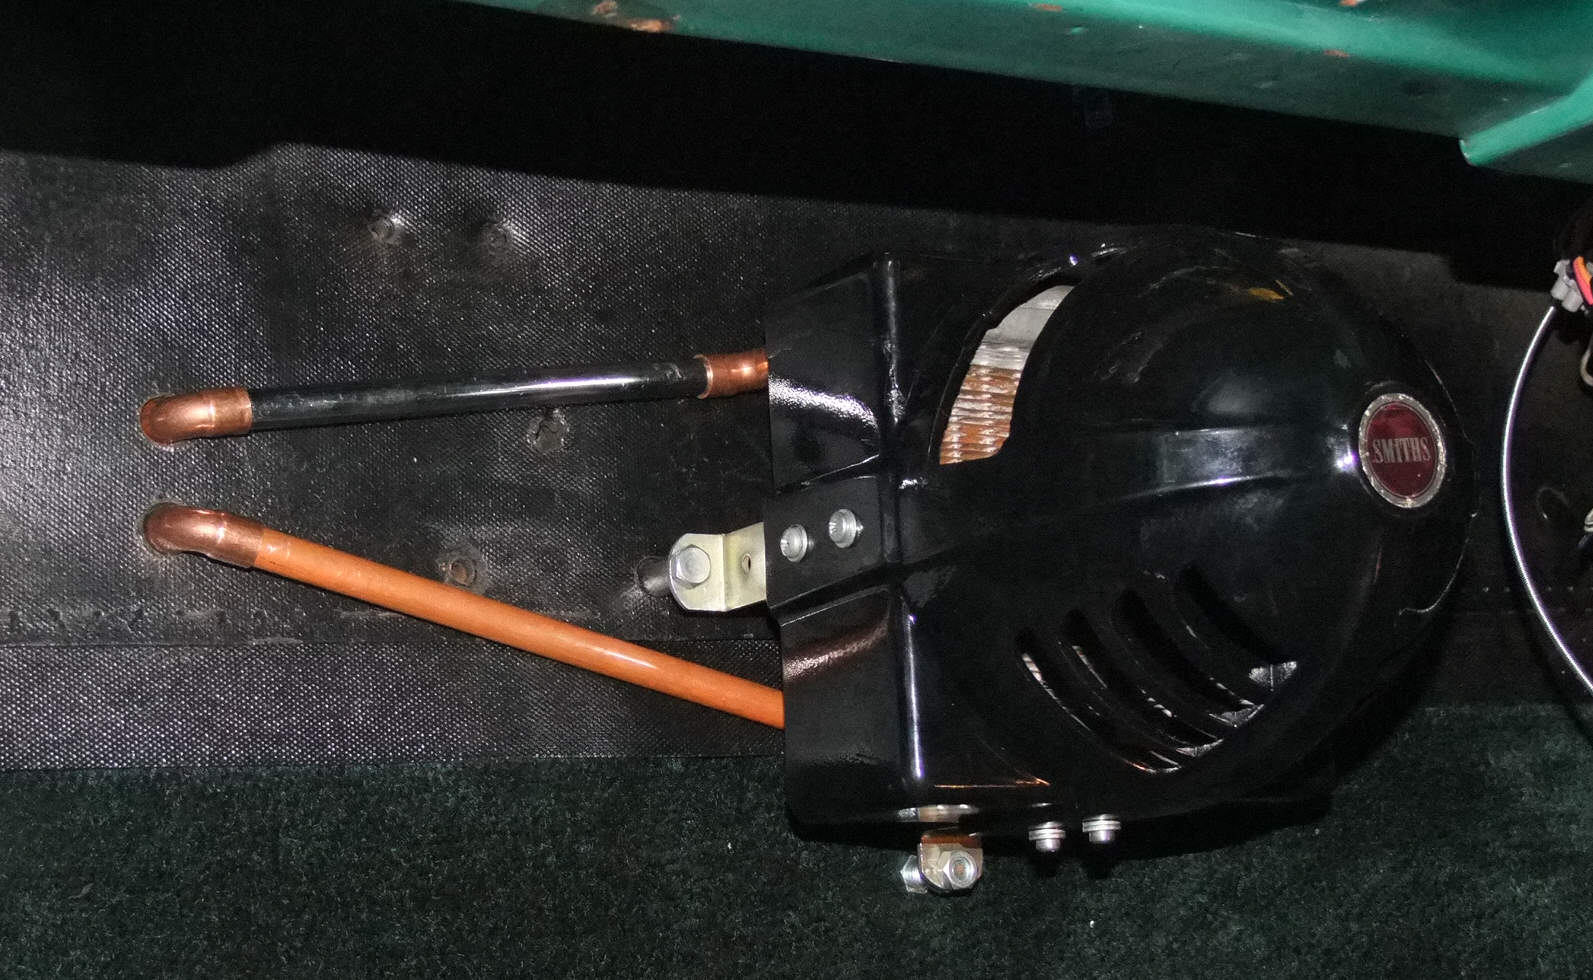
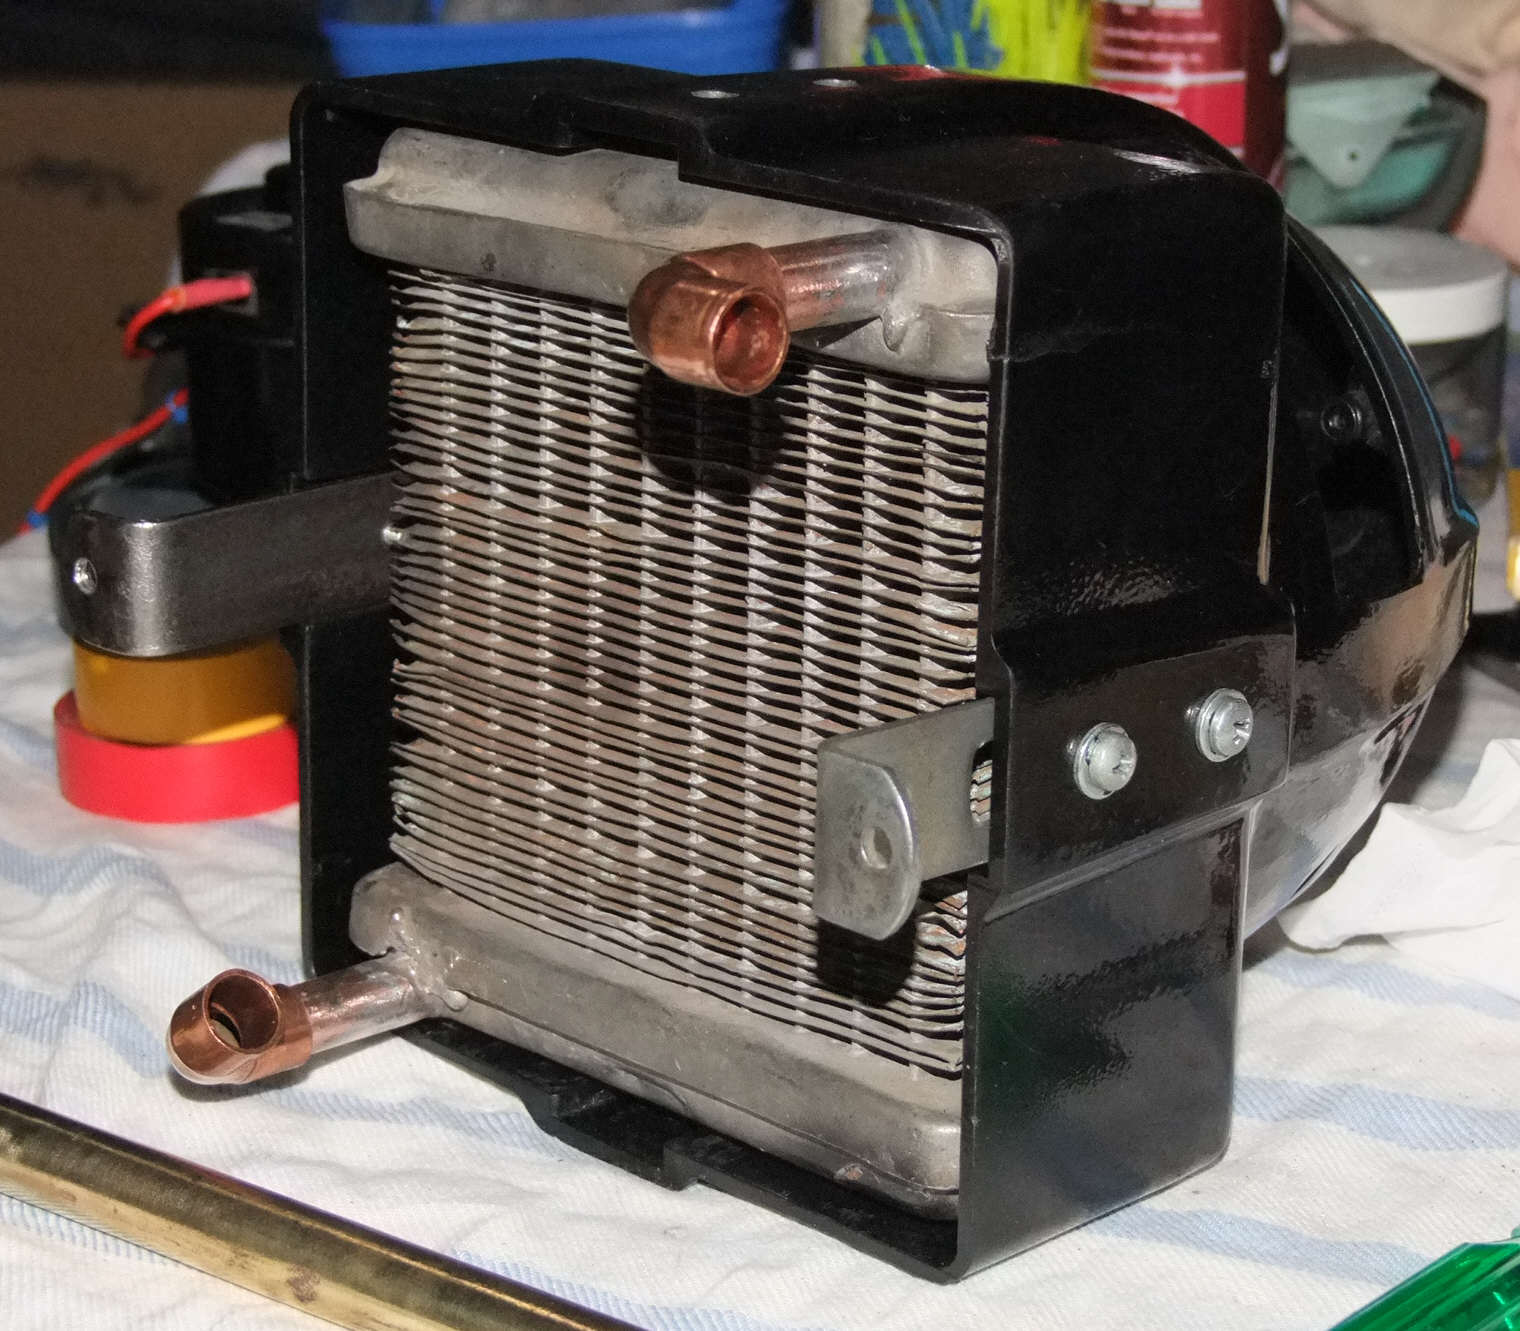
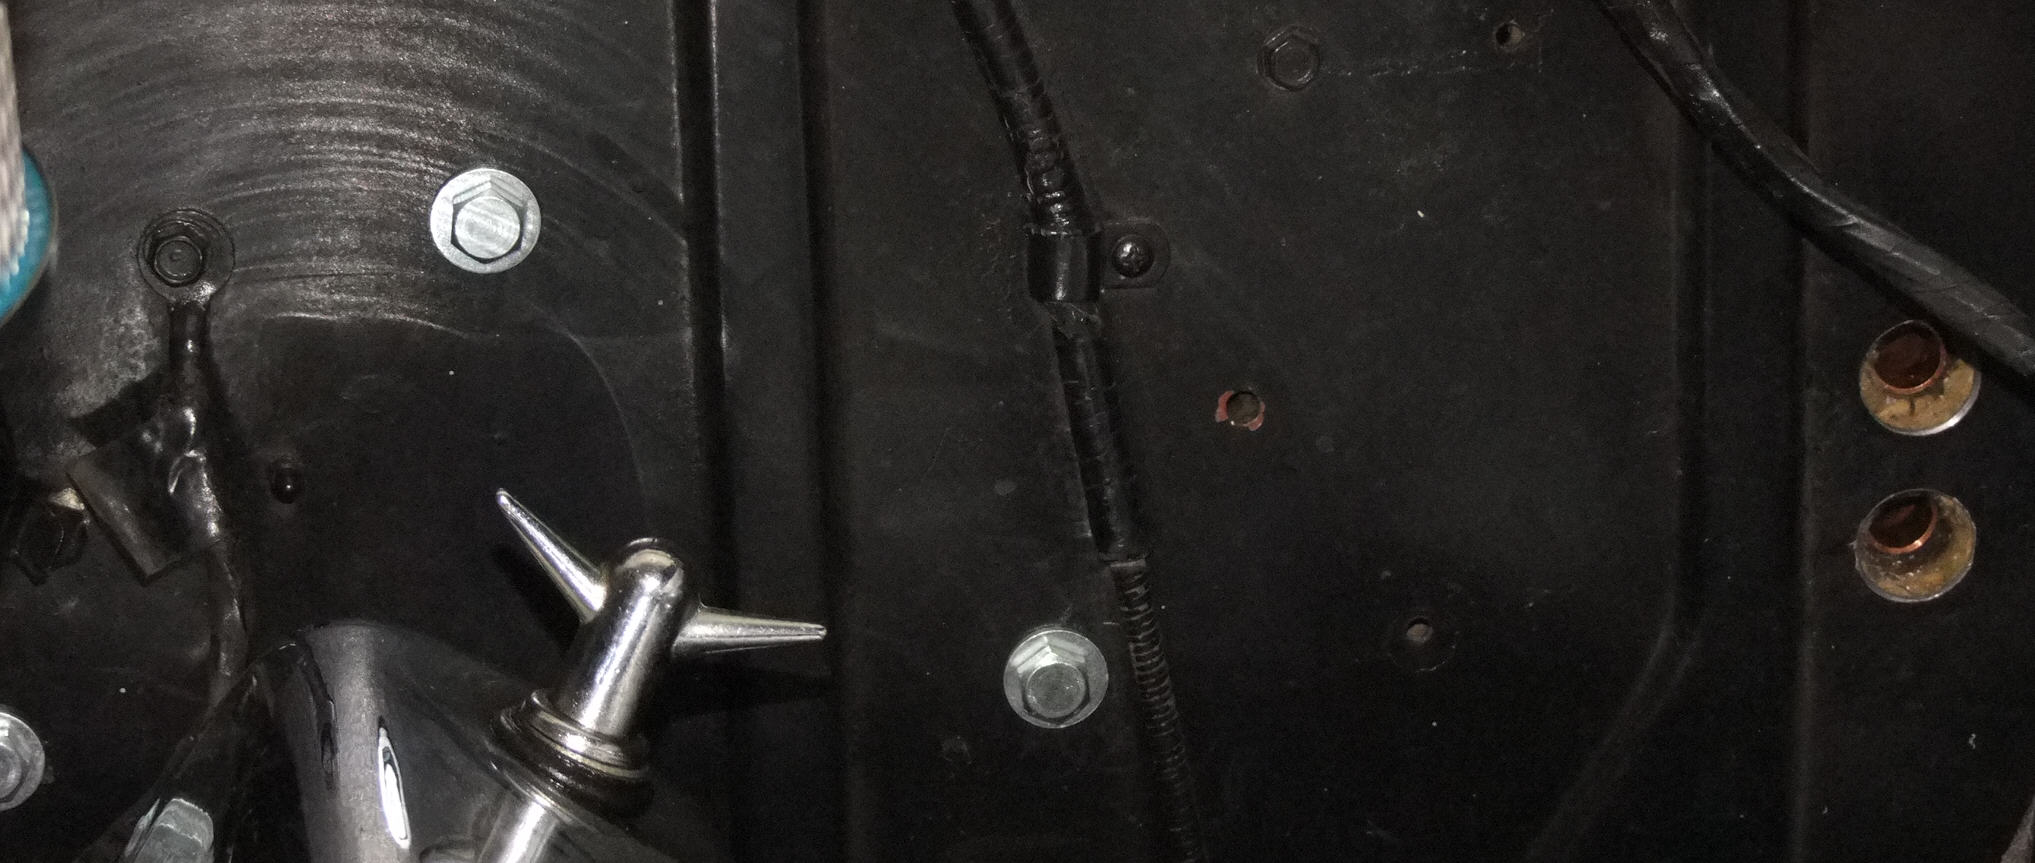
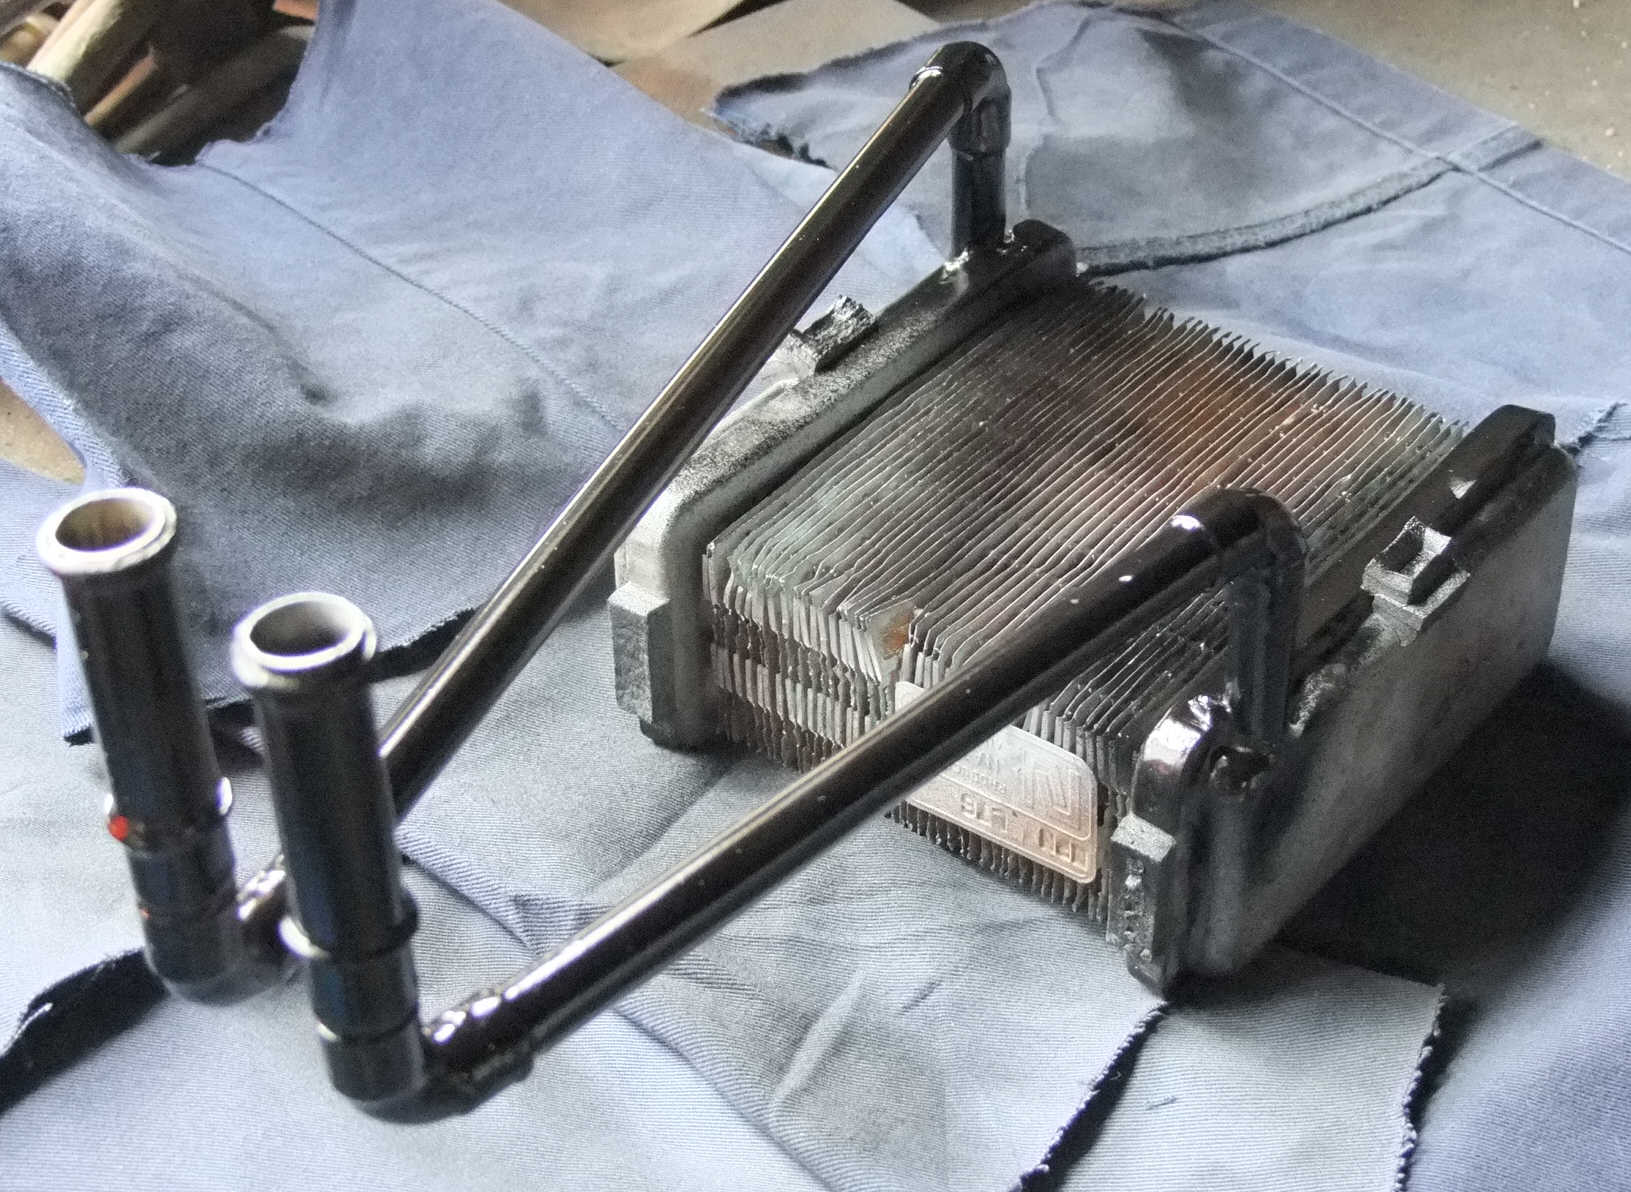
I then had to decide where I was to install the heater, yes I know under the dash, but just where. I moved it as close to the centre as possible but keeping the mounting brackets on the flat area of the firewall. I devised a brilliant method of fixing everything in place without squashing the fibre board and insulation against the firewall. First of all though I had to make one extra heater mounting bracket as there was one missing. With all the mounting brackets in place I marked on the inside the places for the mounting holes and drilled pilot holes for the top three brackets. I then created a boring tool by filing out the inside edge of a piece of ½” inch copper tube to make it sharp and then I gently bored three holes in the fibre board and insulation, centered on the pilot holes, until I hit the firewall. It was then easy to enlarge the pilot hole to take the mounting bolt. A 50mm length spacer of ½” inch round steel drilled and tapped at both ends was completed to take the mounting bolts. One end being pushed into the bored holes and the bolt passed through the firewall and tightened into the spacer. The heater body could then be bolted in place temporarily so the rest of the work could be completed. The length of the spacer allowed me room to fit elbows to the heater core and to extend the pipe work behind the core and in front of the firewall. The bottom bracket only had a bolt attached with two nuts so I could adjust the head of the bolt to sit snugly against the firewall and support the bottom of the heater. The heater brackets were eventually bolted to these spacers which held the heater firmly in place.
I then extended the pipe work across the inside of the firewall and the elbows on the inside were soft soldered onto the heater core and it all looked good. I could then pass them through the firewall so the hoses would lie in a straight line against the inside face of the mudguard. I used the same process to bore the holes for the brass ends of the pipe work. Where the pipes extended through the firewall I had enlarged them to 5/8” inch brass tubes which I silver soldered to the ½” inch copper. I also silver soldered a ring of copper wire to the end of the brass tubes so the heater hoses would not slip straight off. Being the excellent plumber that I am all this plumbing work was no effort at all.
|
|
|
|
 |
|
 |
|
|
|
|
|
I next fashioned out of some 4x3 copper downpipe a couples of air ducts to fit snugly over the top air outlets on the fan body. Brilliantly I affixed these with black nylon cable ties as the heater body, which being bakelite I thought would not take kindly to self tappers or pop rivets. This allowed me to direct more warm air to the driver’s side, otherwise 50% of the warm air would have just accumulated under and around the dash. These outlets were originally used to direct warm air up to the windscreen, but not having the correct bits to do this I came to a decision, “more heat below”. Once all this had been assembled the Black Gloss got another run which made it all look brand new.
Once the fan assembly and the heater core were assembled into the body it was time to fit it all into the car. That was fairly easy as everything has been previously fitted and tested, so the pipes were poked through the fire wall and the brackets were bolted up nice and tight. I fitted rubber grommets to the brass tubes and secured them in to the firewall for a watertight seal.
|
|
|
|
 |
|
|
|
 |
|
|
|
|
|
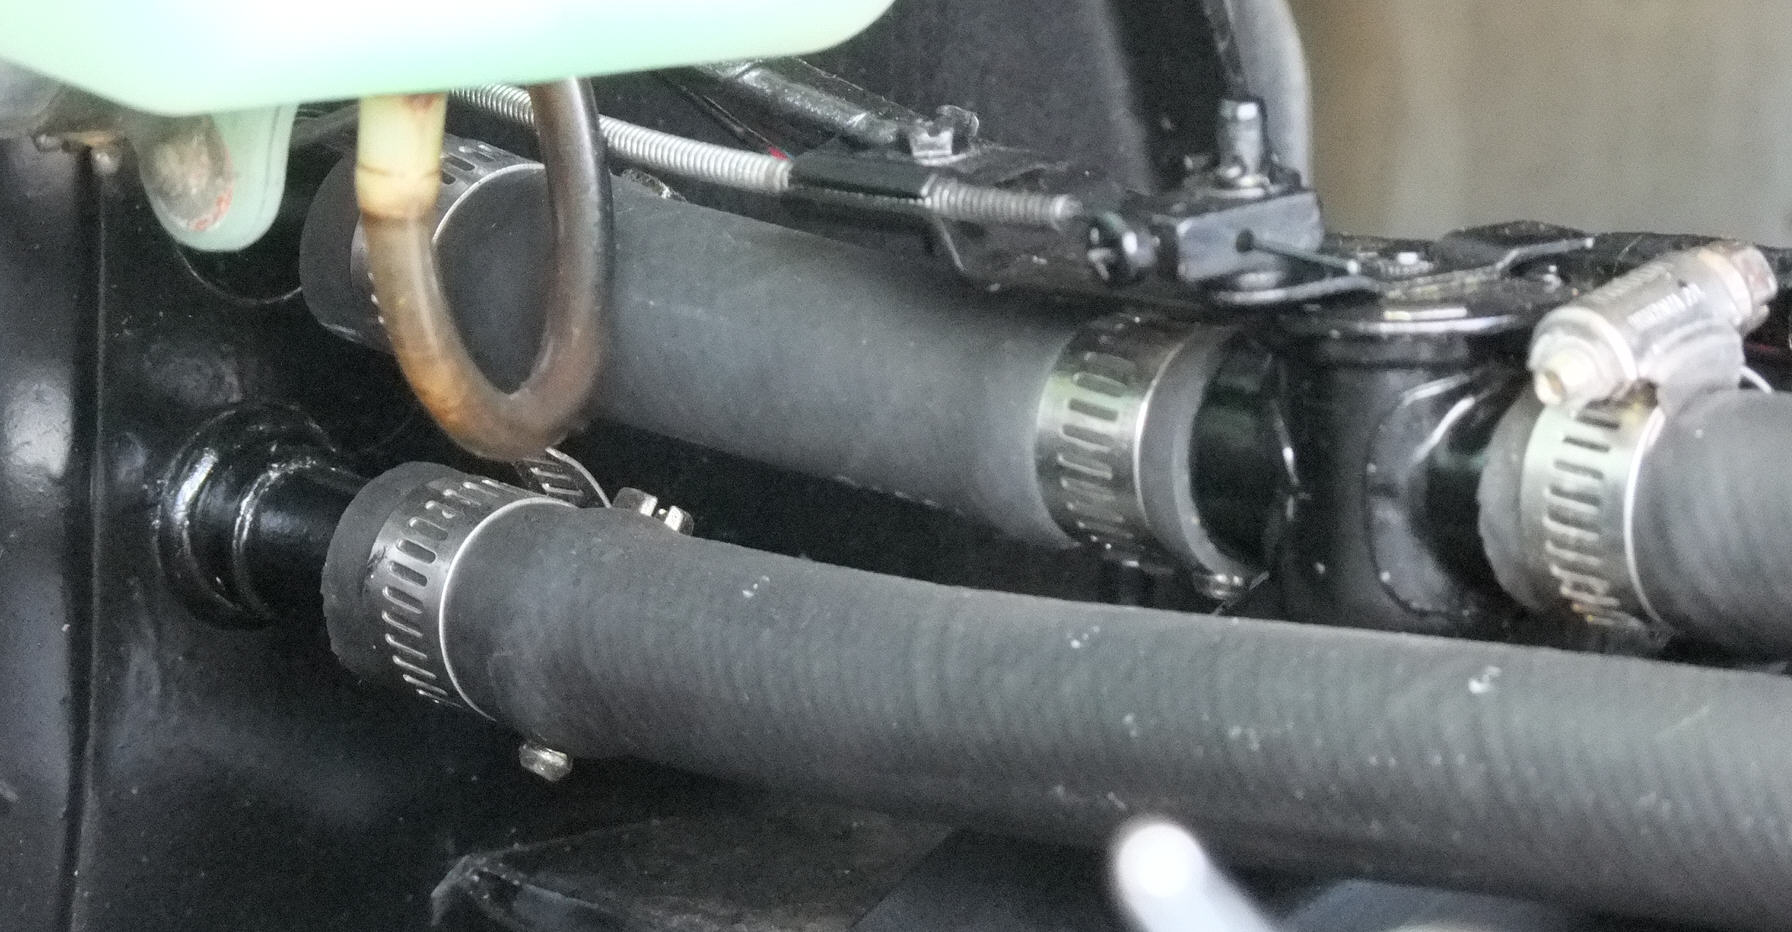
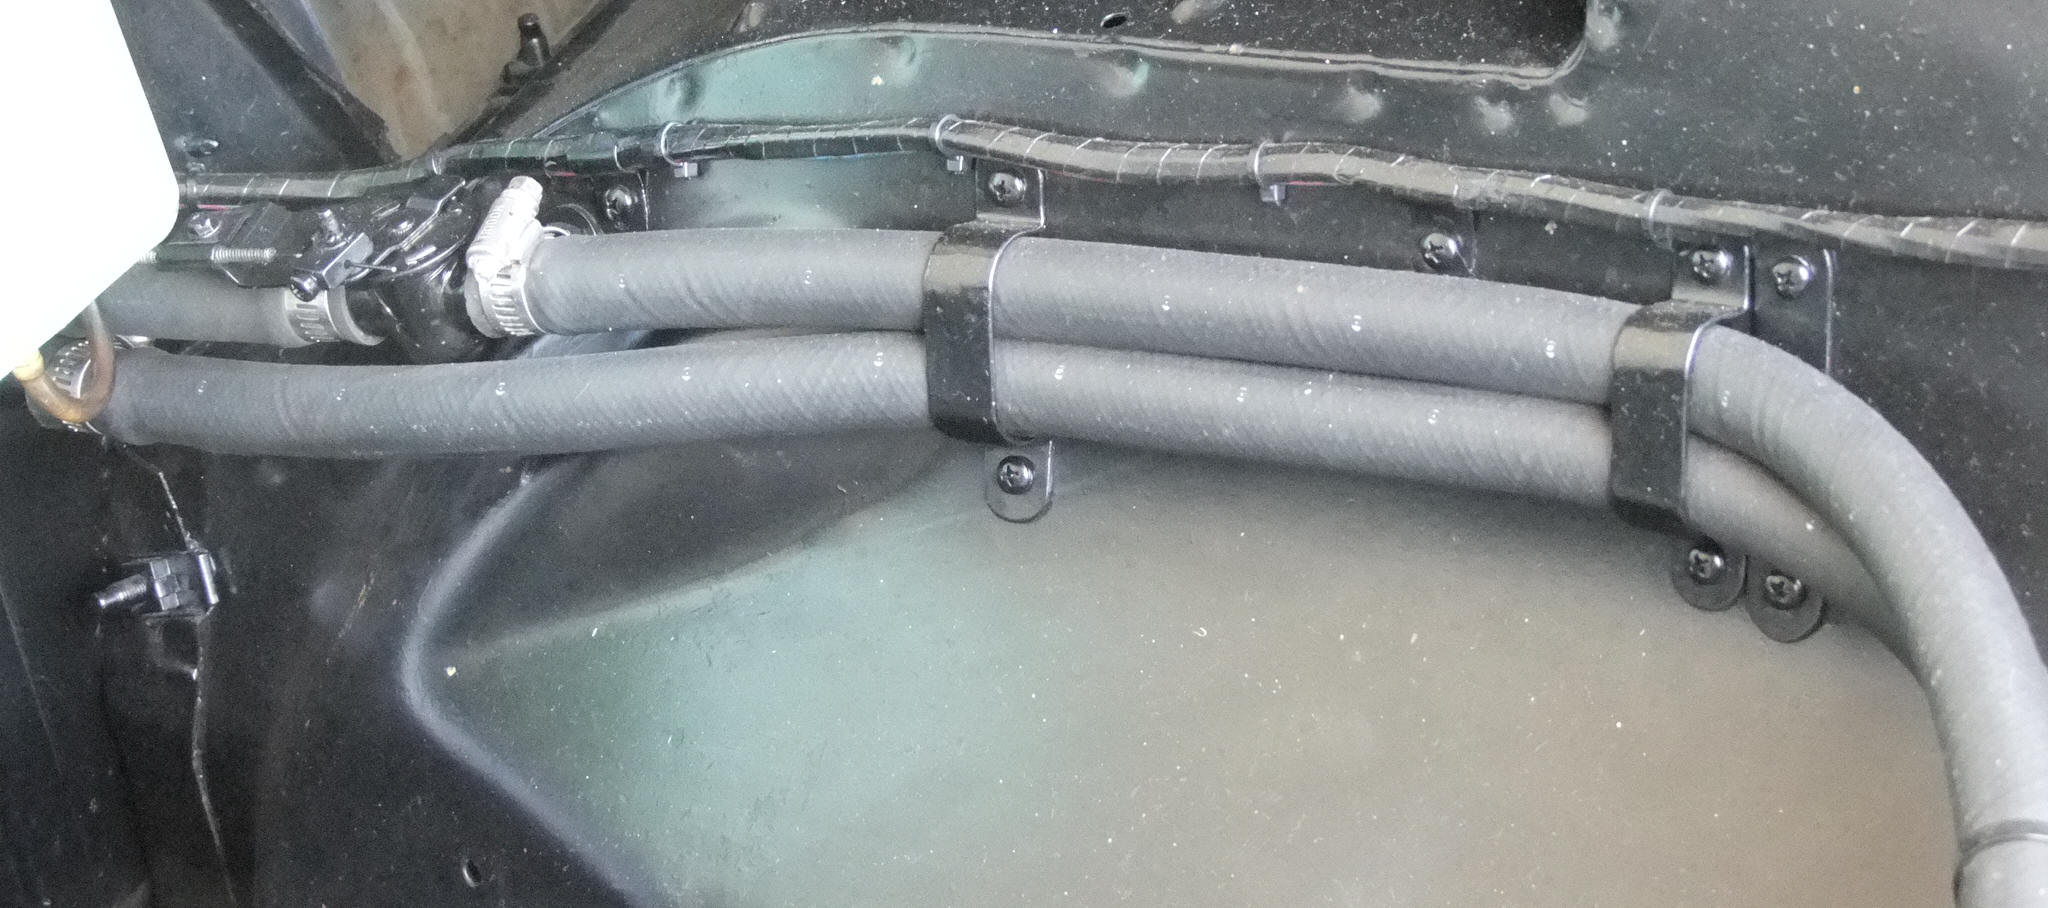
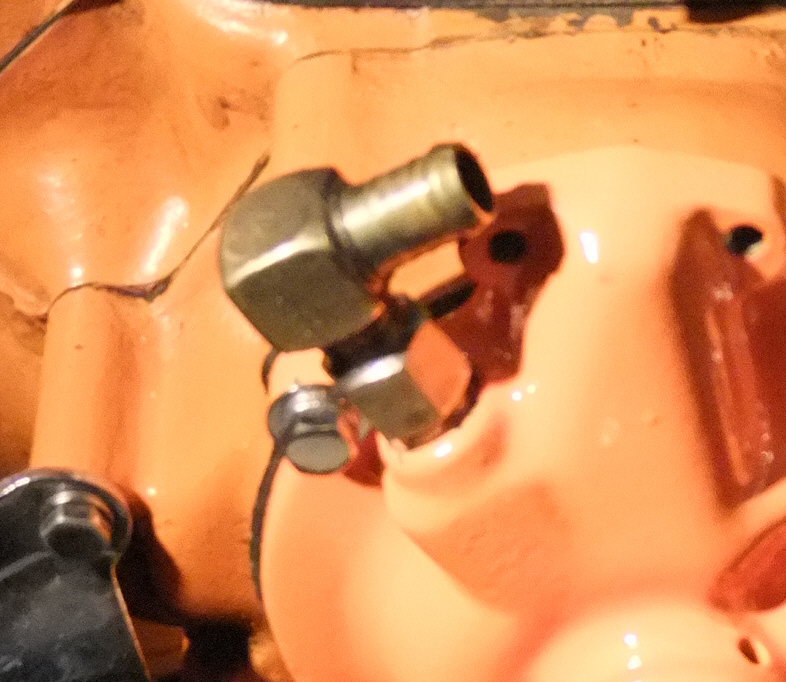
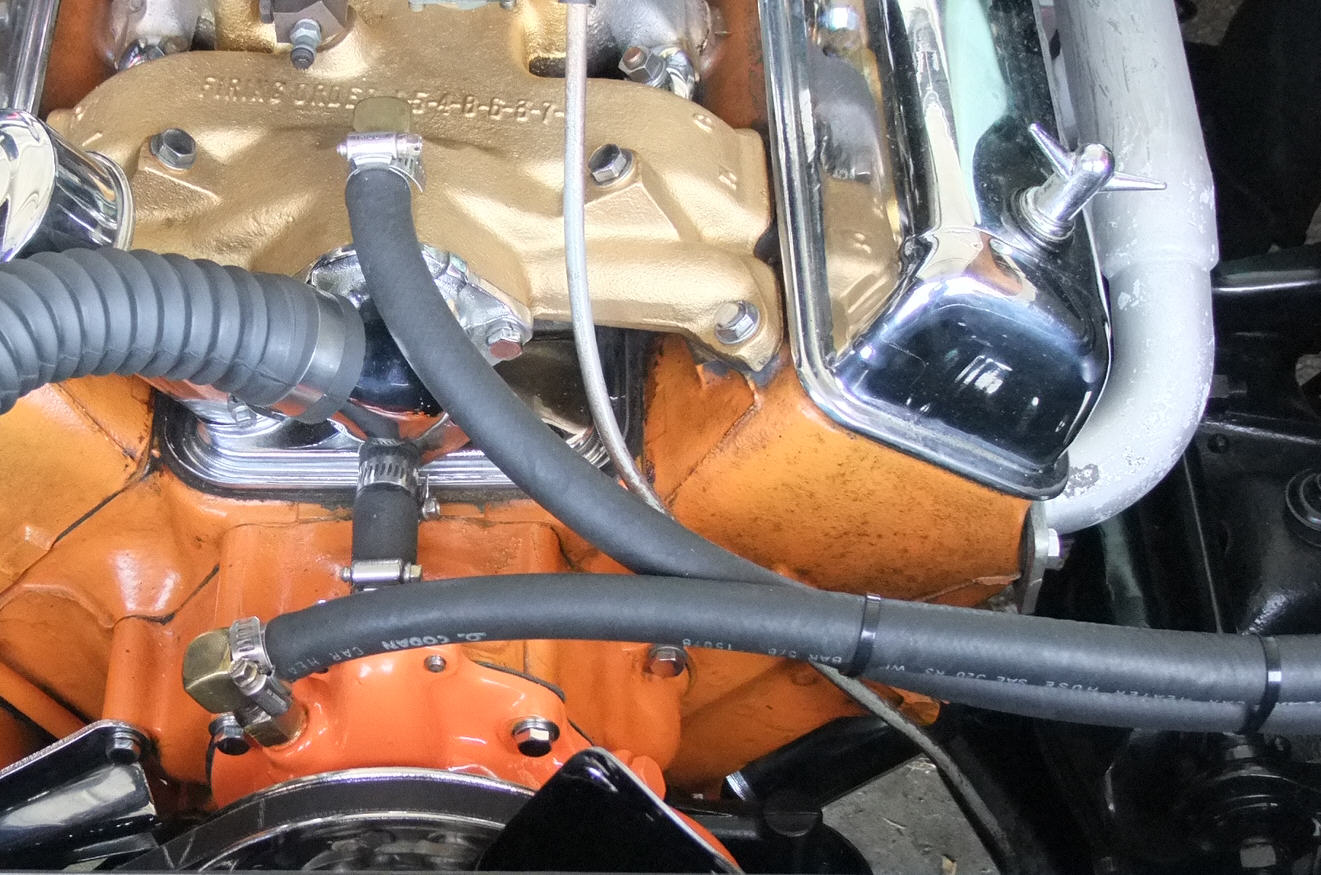
The next step was under the bonnet, where I connected the inline control tap and fixed the hoses to the side of the mudguard. I made up a couple of double sized clips to hold the hoses in place and a couple of nylon cable ties were used to hold the hoses together at the front where they ran across to the water pump. Having plenty of brass fittings about I found just the right elbows to direct the hoses in the right direction from the water pump and the inlet manifold. I decided to silver solder these fittings together so as to eliminate any possible area for water leaks. Using some Teflon tape on the threads the fittings were secured into their positions, the hoses cut to length and the hose clamps were tightened up, which was a pretty straight forward job. Then all the bits that needed it were touched up with Black Gloss and looking good, which finished off that part.
|
|
|
|
 |
|
 |
|
|
|
 |
|
|
|
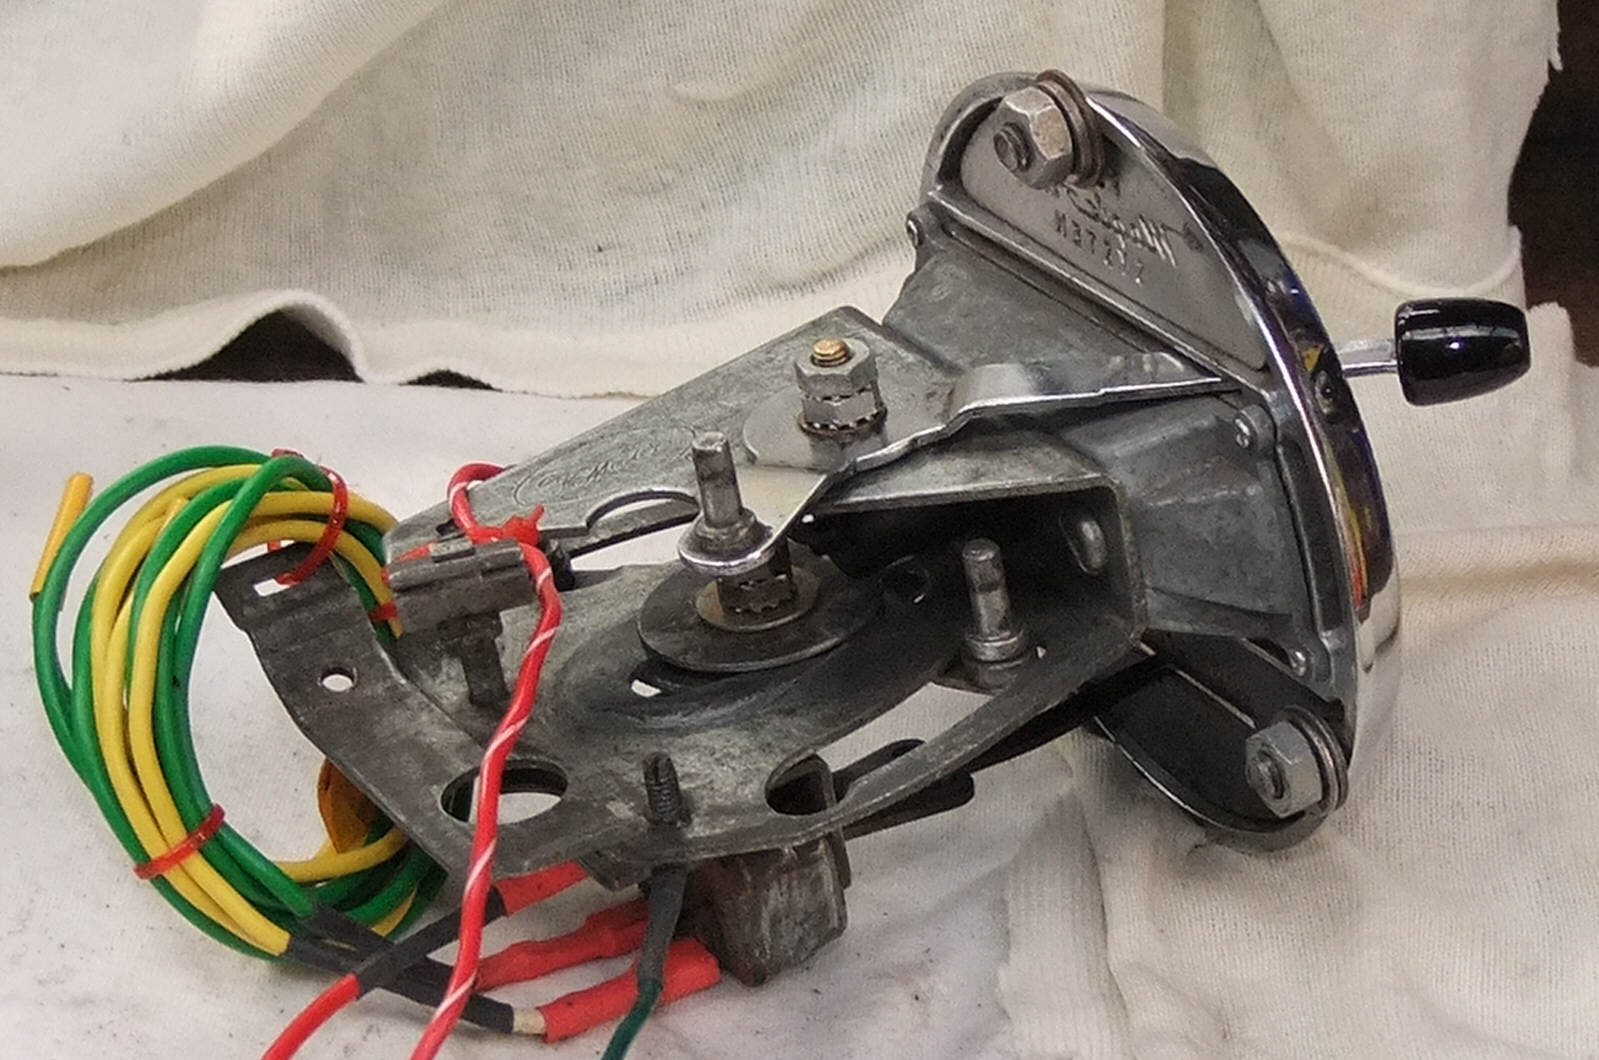
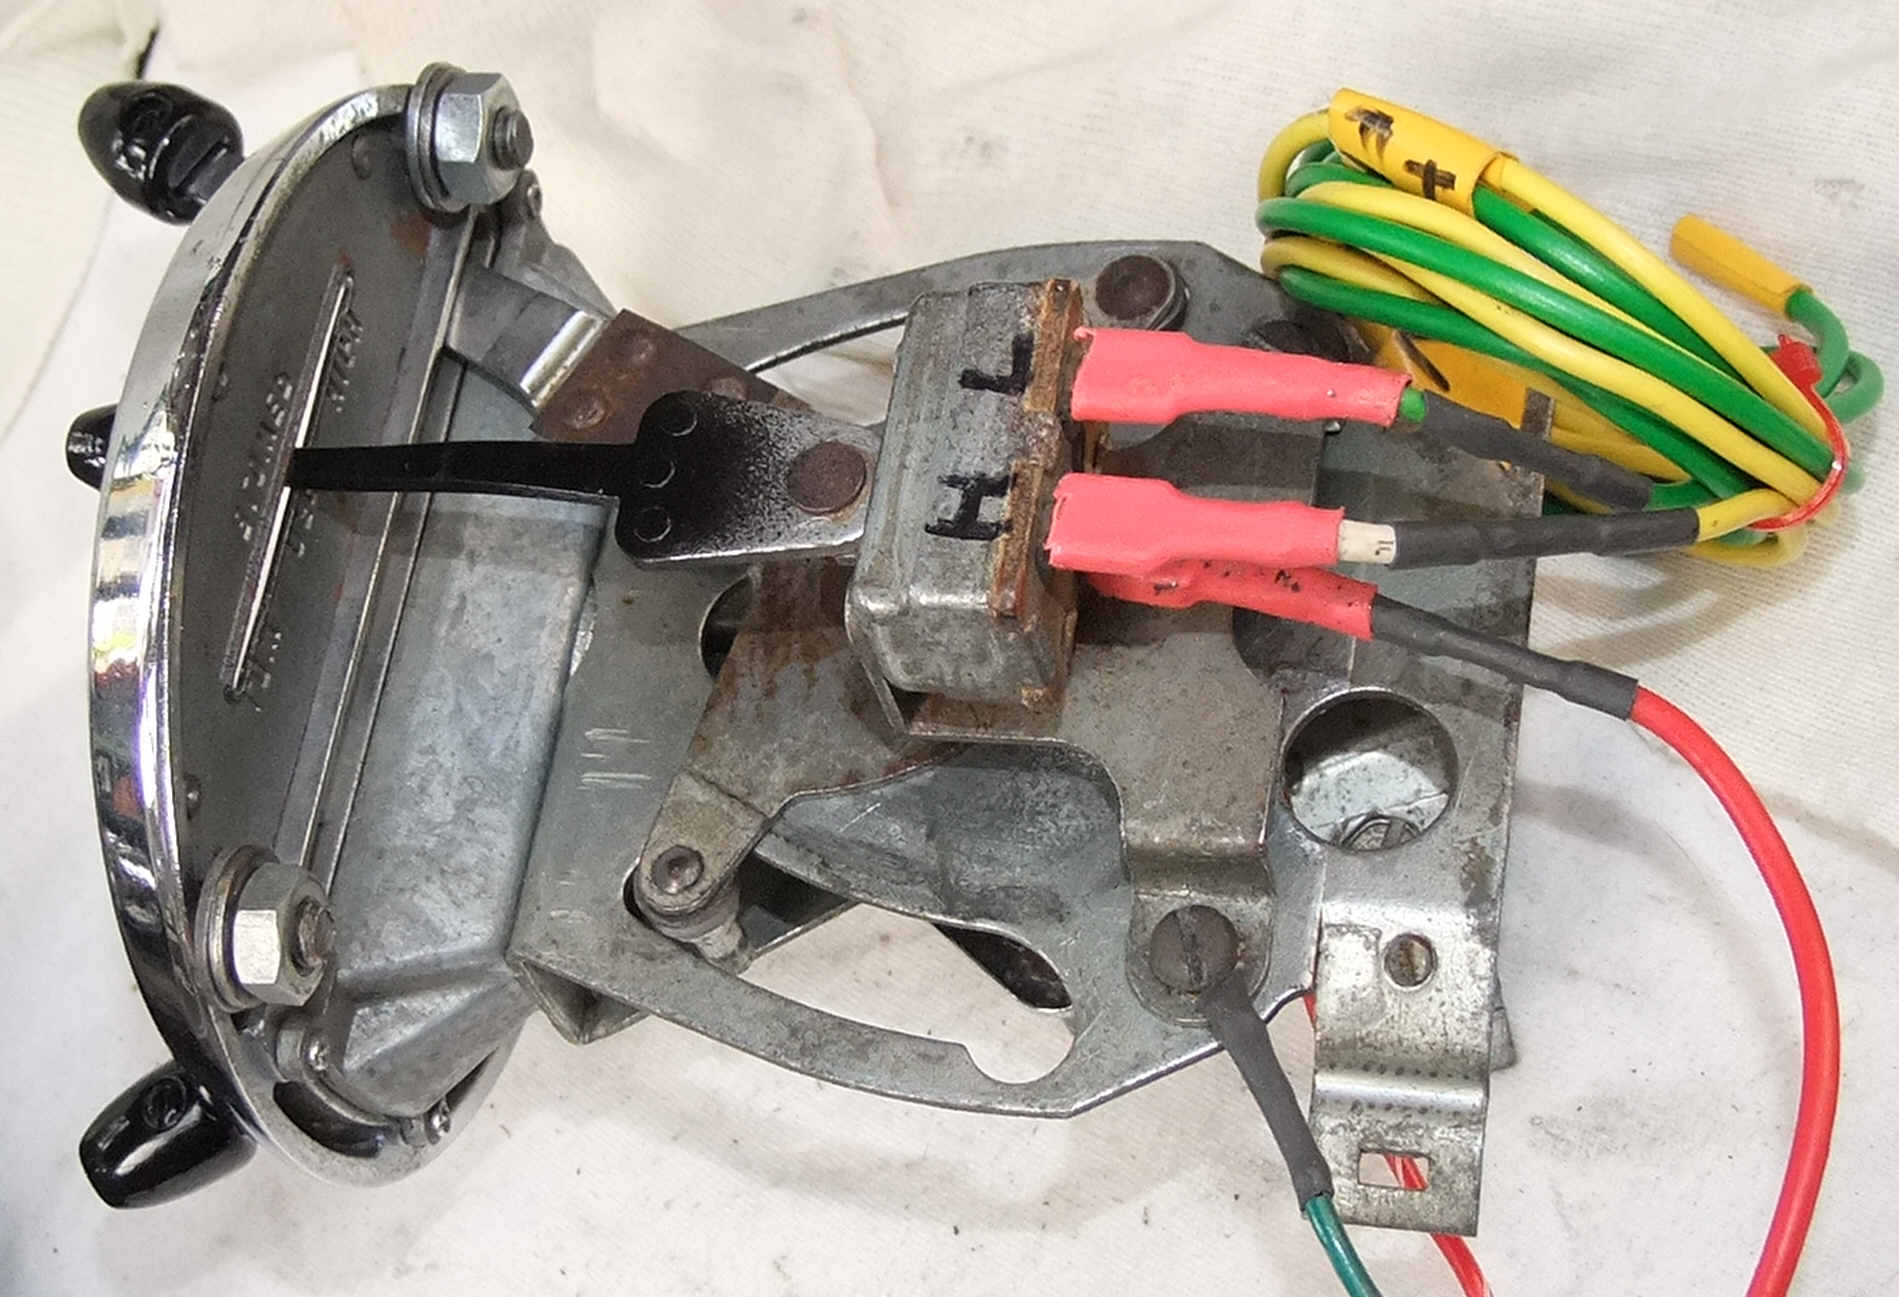
The next phase was to fit the Heater Control into the dash and connect the electrics and heater tap control cable. But first I had to tension up the pivot point on the lever as it was a bit too loose, so with the help of a couple of locking nuts and washer I was happy. Next it was time to remove the plastic dash insert that was installed by a Ford employee some 56 years ago, which covered the hole in the dash, as these vehicles were never privileged enough to have heaters installed. My next task was to determine if the original two speed fan (blower in US) switch still worked. Well to my amazement it did so I proceeded to make up some cables to connect to the fan itself.
|
|
|
|
 |
|
|
|
 |
|
|
|
|
|
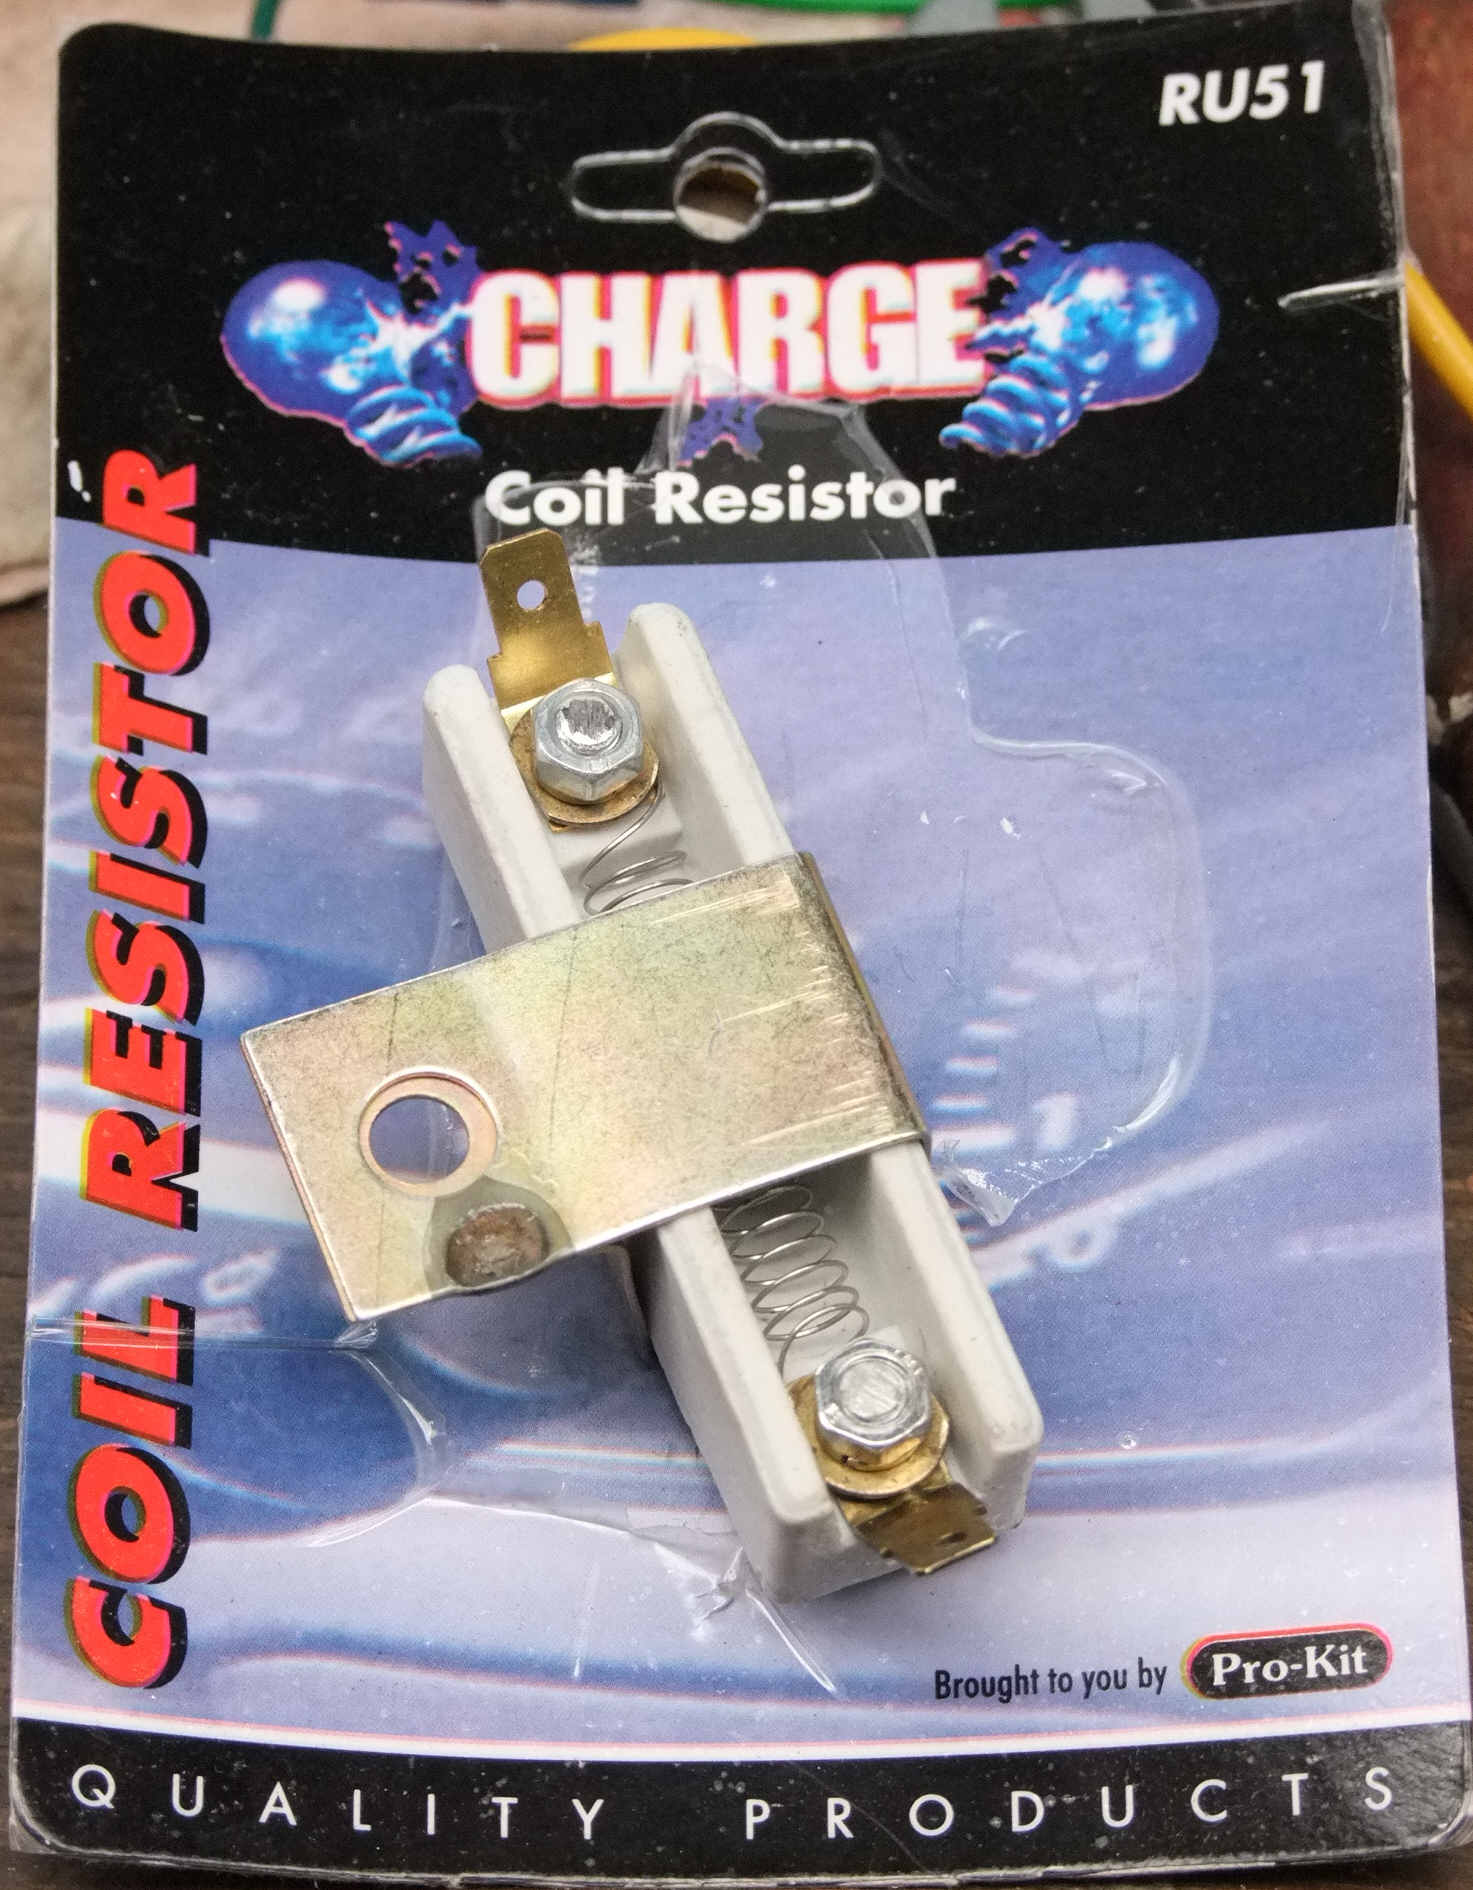
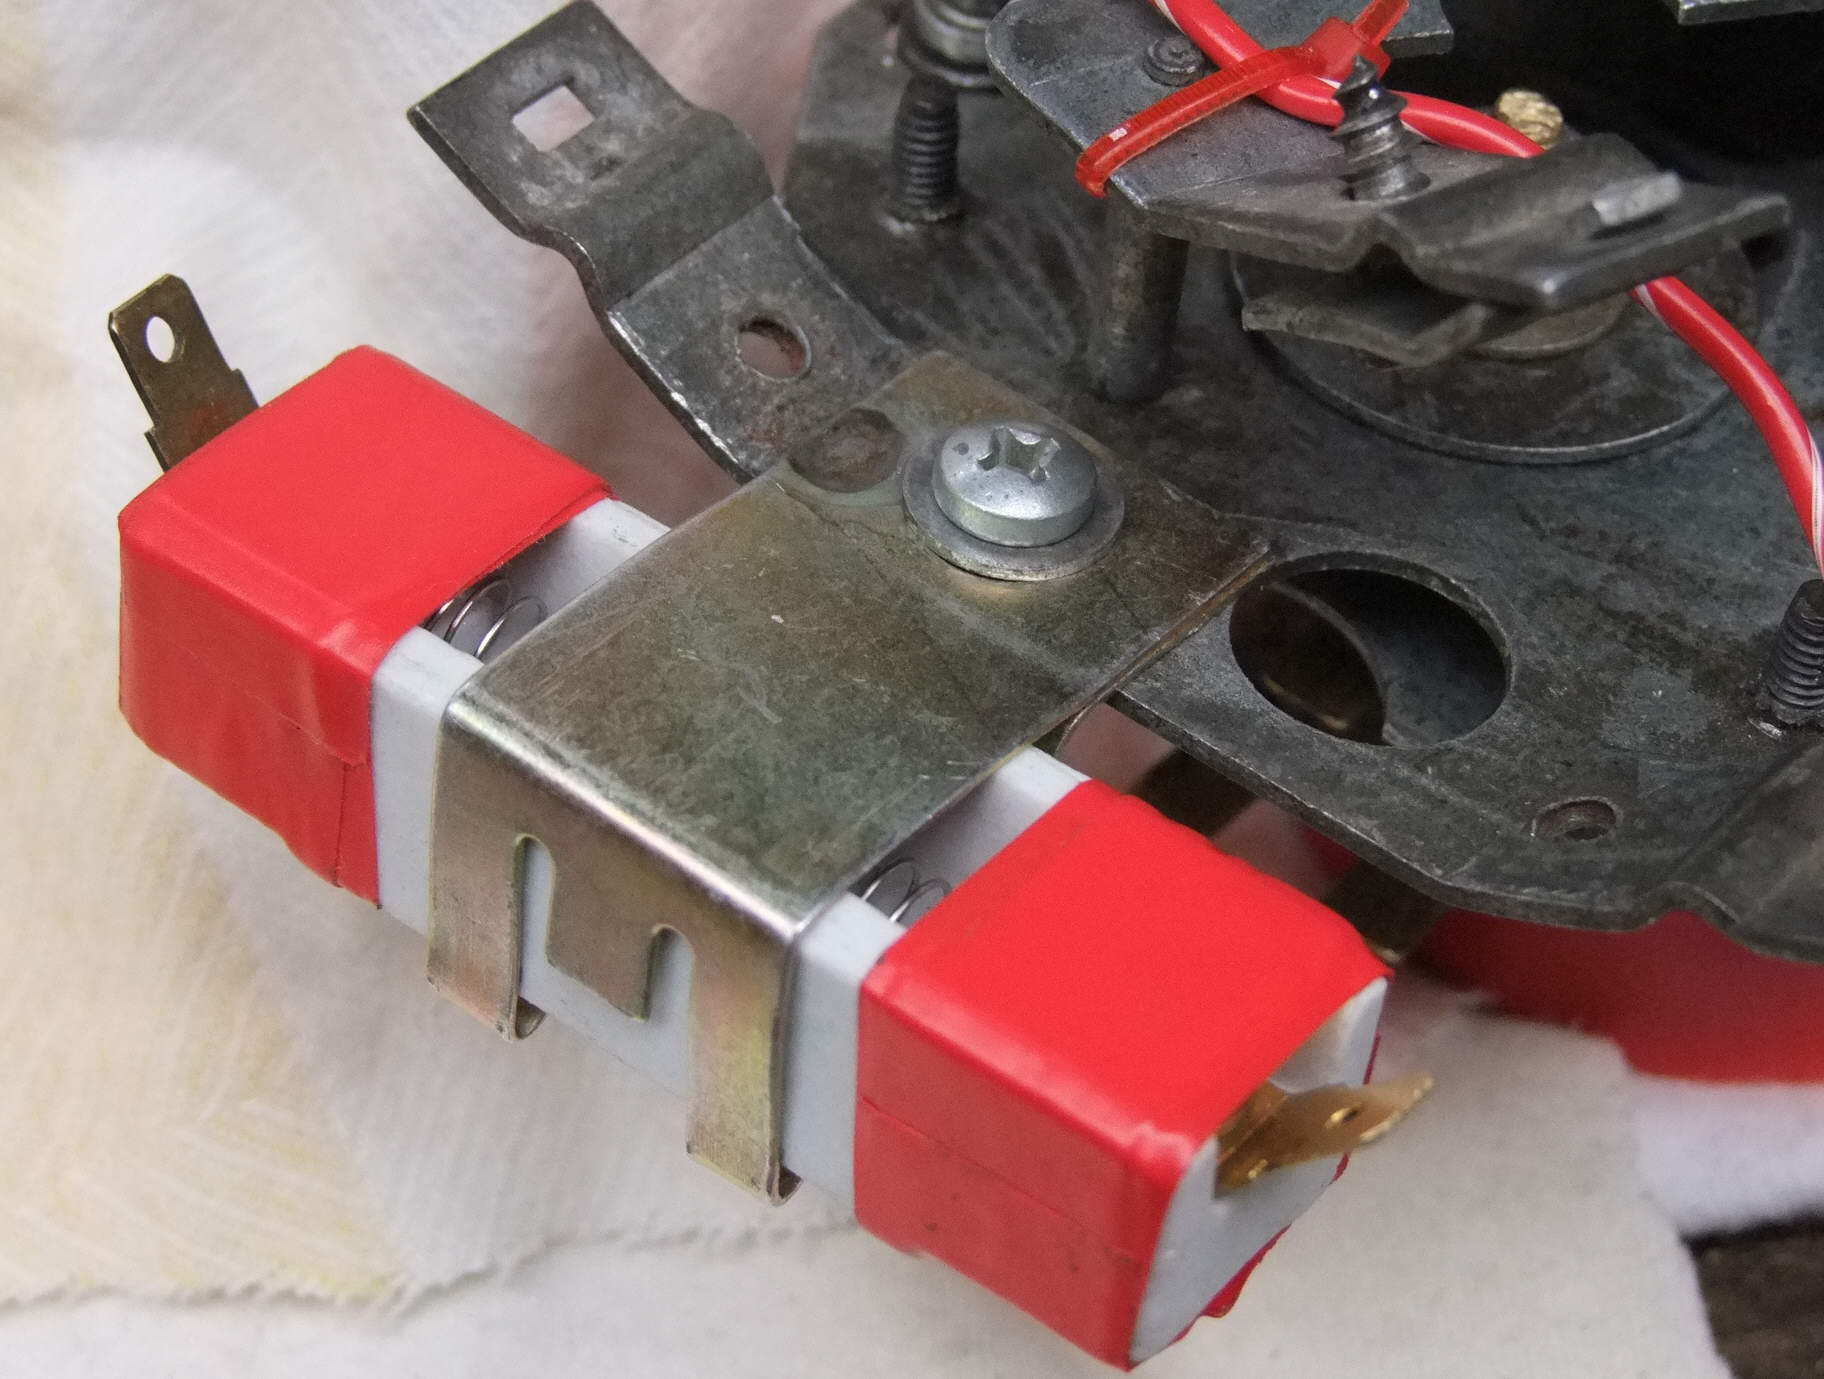
The only problem was the switch was the same speed in high and low positions, so I had to devise a way of creating a slower speed on the low setting. I achieved this by attaching a Coil Resistor to the back of the mechanism which was quite easy and connecting the appropriate cables in line. When I tried this with the fan it worked perfectly and gave me a two speed fan. The power for the fan was taken from a spare live cable I had previously left hanging from the original wiring loom. I wired all this through another in line fuse to keep everything safe and sound.
|
|
|
|
 |
|
|
|
 |
|
|
|
|
|
I had to fit another globe holder to the mechanism as the original one was missing, which was simple as they just clip in. A new 6 watt globe was fitted and that was also wired up to the dash lighting loom. Whilst I was at it I also replaced all the other dash globes with 6 watt globes as the old ones were pretty dim at night. Of course to do all this I had to remove the speaker grille so I could get to and remove the speedo assembly so I could get at all the globes around it changed over, including the globes around all the dash bezels as well. That really was not as easy as it sounds as there was a lot of working in places you could not see. And you know there is more than a drop of my blood under that dash, so I now have a DNA attachment to my Cussy. Eventually all the globes were in place and the speedo unit was replaced.
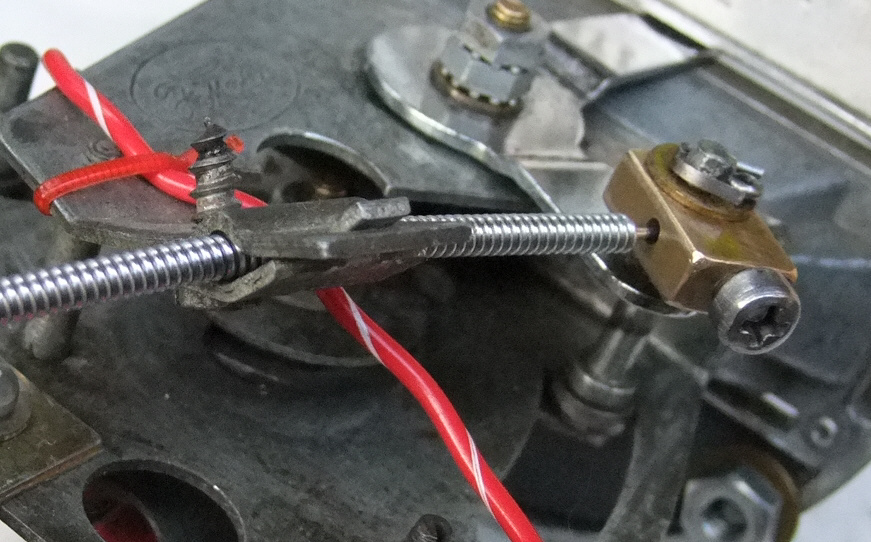
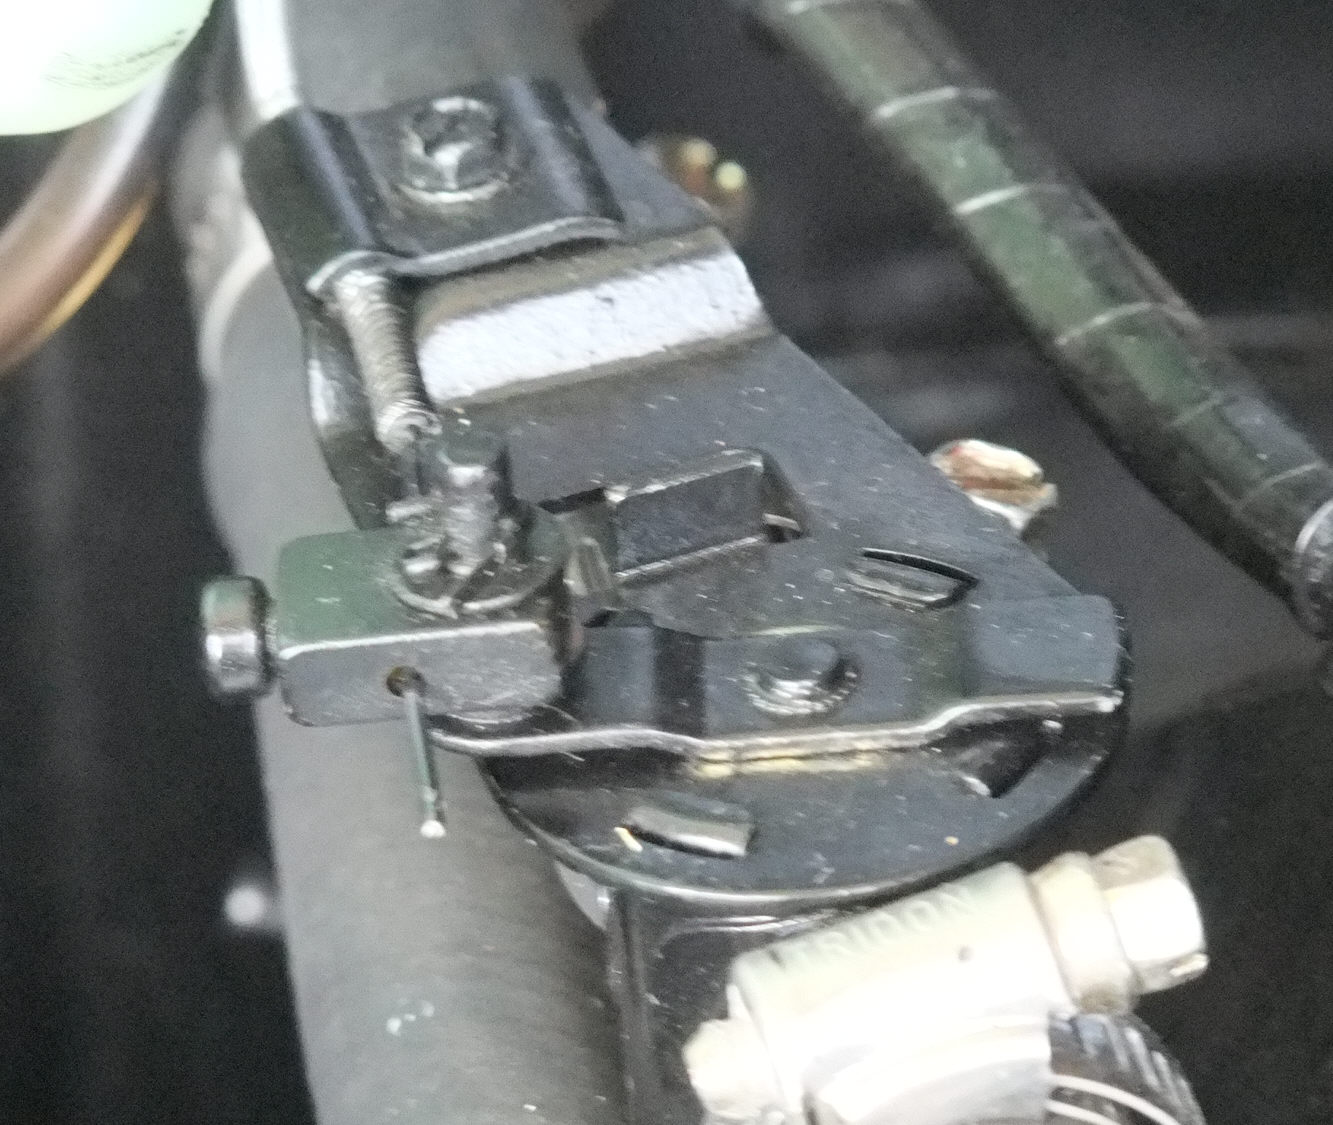
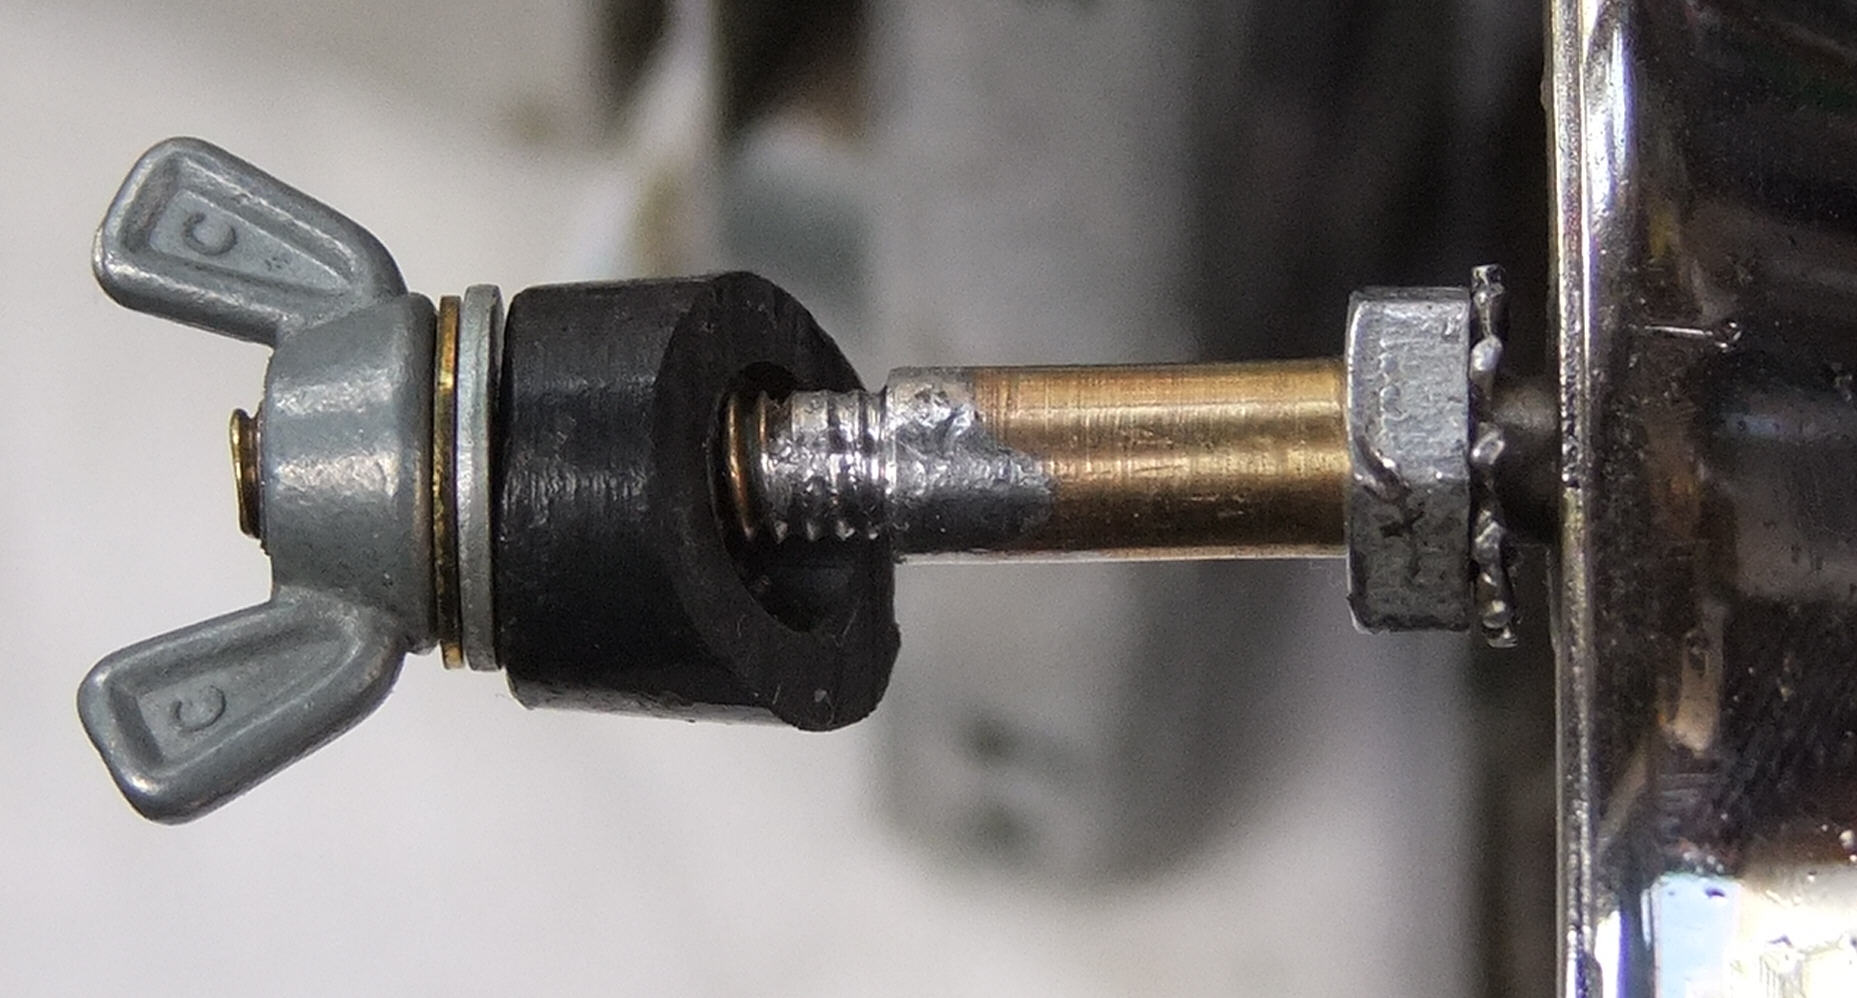
Once I was happy with all that my next step was to devise a way of connecting the heater tap control cable to the stud on the control lever. I used a small block of brass that I drilled a hole in the same size as the stud. That block was placed on the stud with a brass washer and a split pin fitted to the hole I drilled in the stud, just at the right height, which allowed it to spin freely. Just a bit away from the stud hole I drilled another hole through the brass in the other direction to accept the control cable. To secure the cable and to allow for adjustment I drilled another hole into the end of the brass block, which passed the cable hole but did not penetrate the stud hole. This hole was tapped and a screw inserted to bear down on the cable and secure it into position. The cable outer casing was secured into the clip arrangement, which is part of the Control mechanism. I allowed the outer cable to come fairly close to the brass block when it was in the closed position to eliminate any flexing in the inner cable when it is pushed to the closed position.
|
|
|
|
 |
|
 |
|
|
|
|
|
I now realise that the cable I used was excellent for pulling but not for pushing, as the first time it folded up on me when I moved the lever to the closed position, hence I moved the outer cable up as far as possible to eliminate this folding up. So be wary of the cable if you use one in this manner, it’s the pushing action that counts.
It was then time to fit the Heater Control mechanism into the dash and to make all the connections. The unit was quite easy to fit as there are just three nuts to tighten up. But be wary again, “DO NOT” tighten these nuts too tight as you may well tear the studs off the body, as they are just cast studs and they are very old, so treat them with great care.
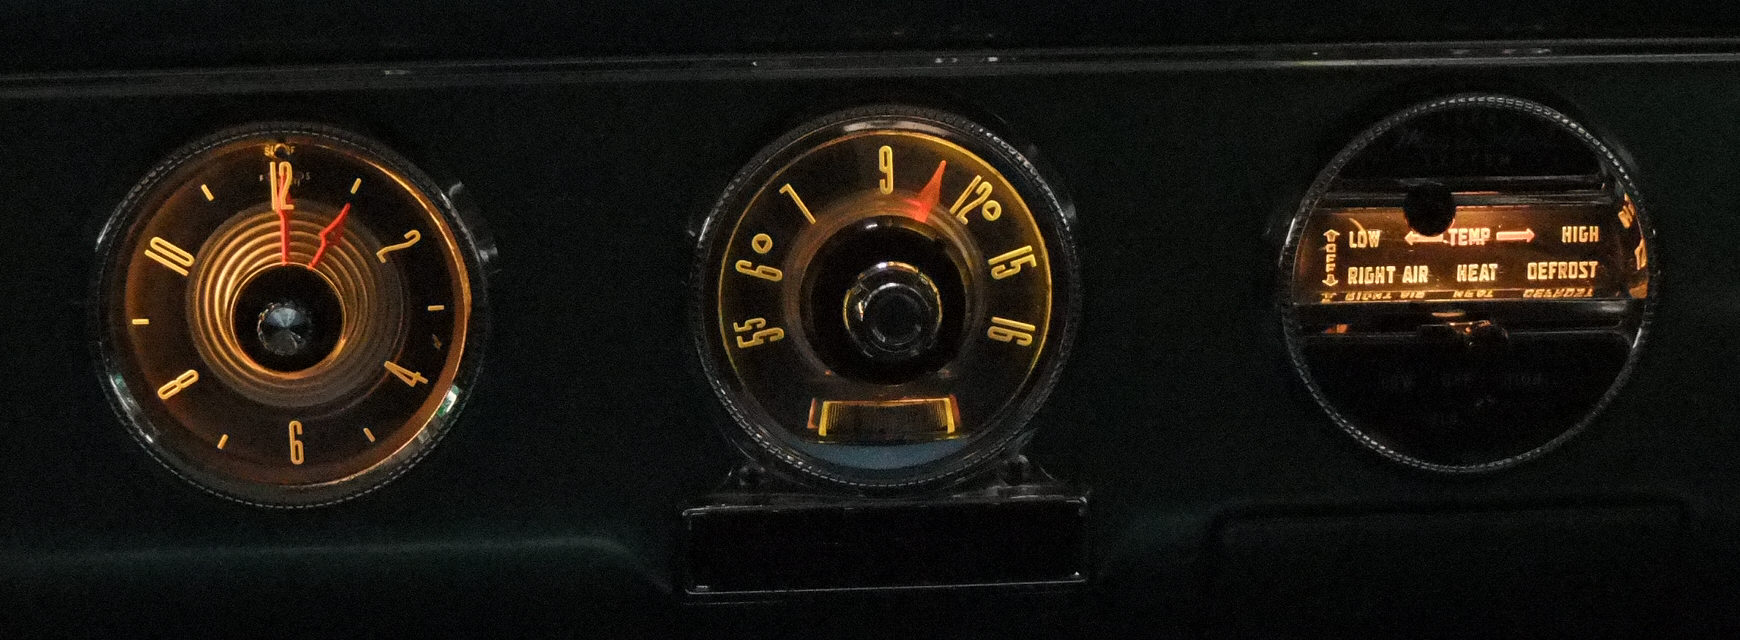
I made the power connection, the lighting connection and then connected the fan and then gave it all a good test, amazingly it all worked, so I was really happy. I then devised a route for the control cable under the dash and out through the firewall with another grommet to keep it all in place. Now the control tap had the same stud arrangement as the control lever so I manufactured another brass block in the same manner for this end of the cable. The outer case was clamped into position and after a few adjustments it all seemed to be working OK. The speaker cover was put back into place and you would hardly know that anything had happened except for the fact the dash now sported the Heater Control unit. The centre lever that controls the air flow system is just for show now as this new heater only works on recycled air.
|
|
|
|
 |
|
|
|
The final test was to heat up the motor and see if the heating part really worked, well would you believe it did and worked very well, and I have found that I really only need to run the fan on the High speed as when you are travelling you cannot really hear the fan running above all the other Cussy noises.
This heater installation could also be considered for any older vehicle at all, as the Smiths heater is universal.
Now the wifey is happy and warm and so am I.
Must be getting old or soft or something.
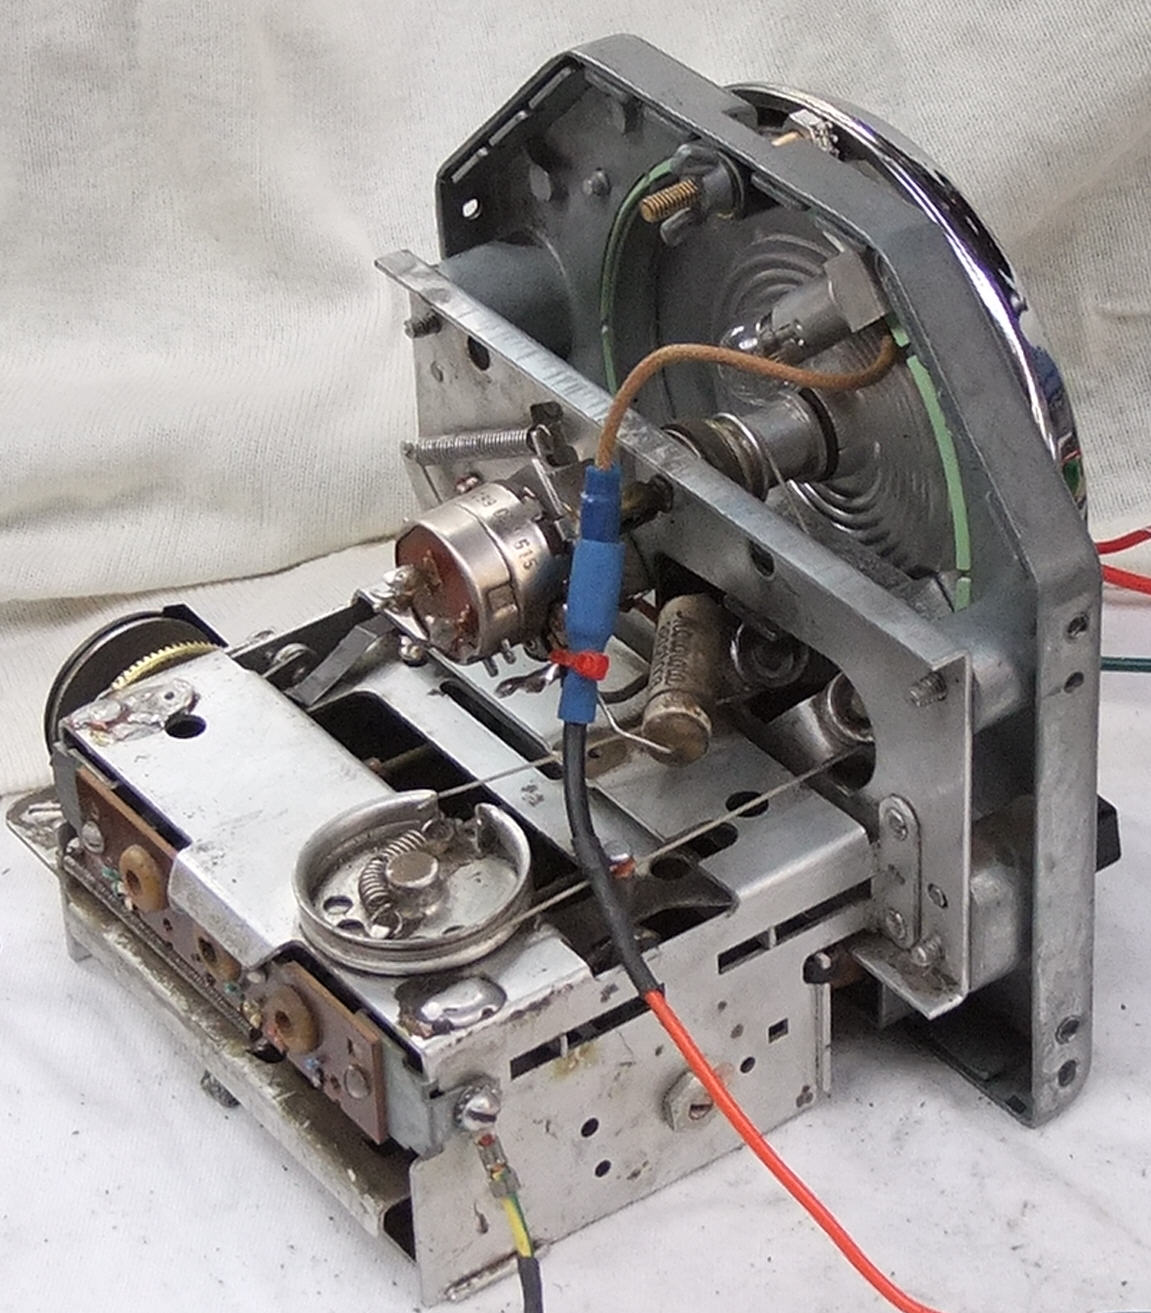
PS. In amongst all this I also installed a Radio Control front panel just for show. This was not a terribly involved job as it was just a matter of removing the plastic insert and bolting the radio mechanism into the hole. I did though extend the clamp at the top of the fascia to support the radio plate without having to make a hanging bracket from the back. I also connected the light to the loom which now matches the other two. The radio mechanism at the rear is only there to operate the push buttons at the front.
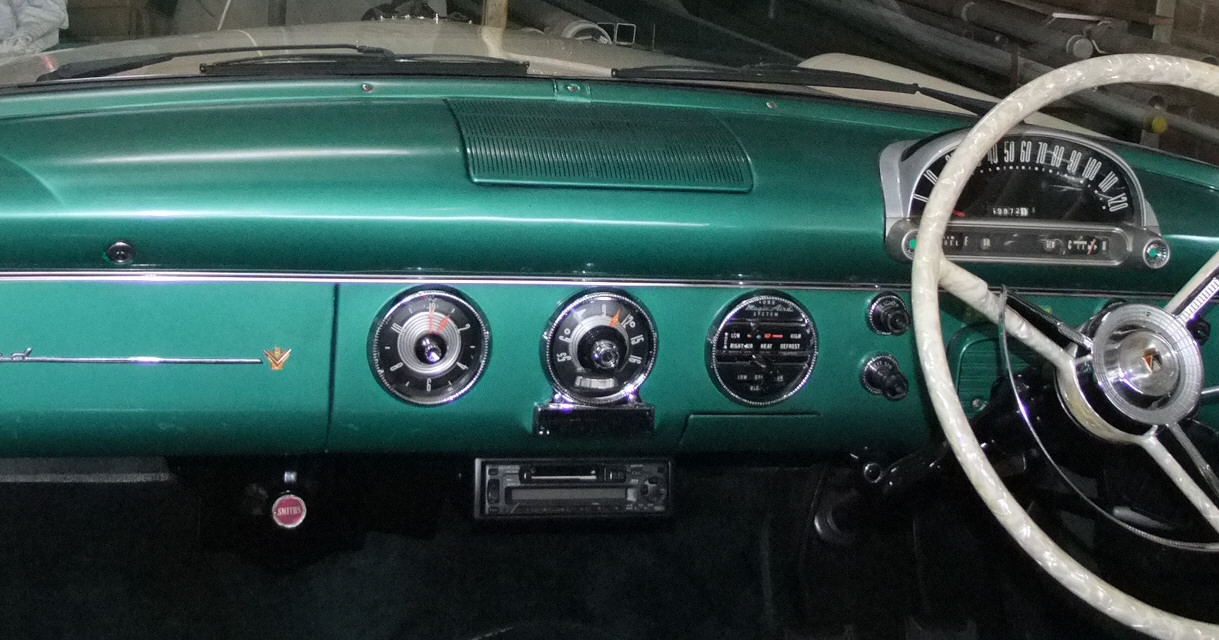
Now I have the “Threesome” in the dash and it all now looks quite well.
|
|
|
|
 |
|
|
|
 |
|
|
|
|
|
So if you are contemplating either of these tasks then you may consider using some of my ideas to make your job easier.
Ford Customline Enthusiast, Rob Brereton.
|
|
|
|
 |
|
|
|
49-59 FORD CUSTOMLINE CAR CLUB OF VICTORIA Inc.
E-Mail: cussyclub@optusnet.com.au
Web: http://www.customlineclub.org.au
Please contact our Webmaster with questions or comments.
Copyright © 2005. All rights reserved.
|
|